Articles are the core of your worldbuilding on World Anvil: they contain most of your written worldbuilding, can easily link to other articles, and even contain interactive elements like maps and spoiler buttons. Here's everything you need to know to get started with articles.
Contents
1. Create your first article
Here are the basics on article creation!
- Open the Articles & World Manager at the top of the left sidebar.
- Click the green Article button at the bottom left.
- Choose a template from the grid and click on it:
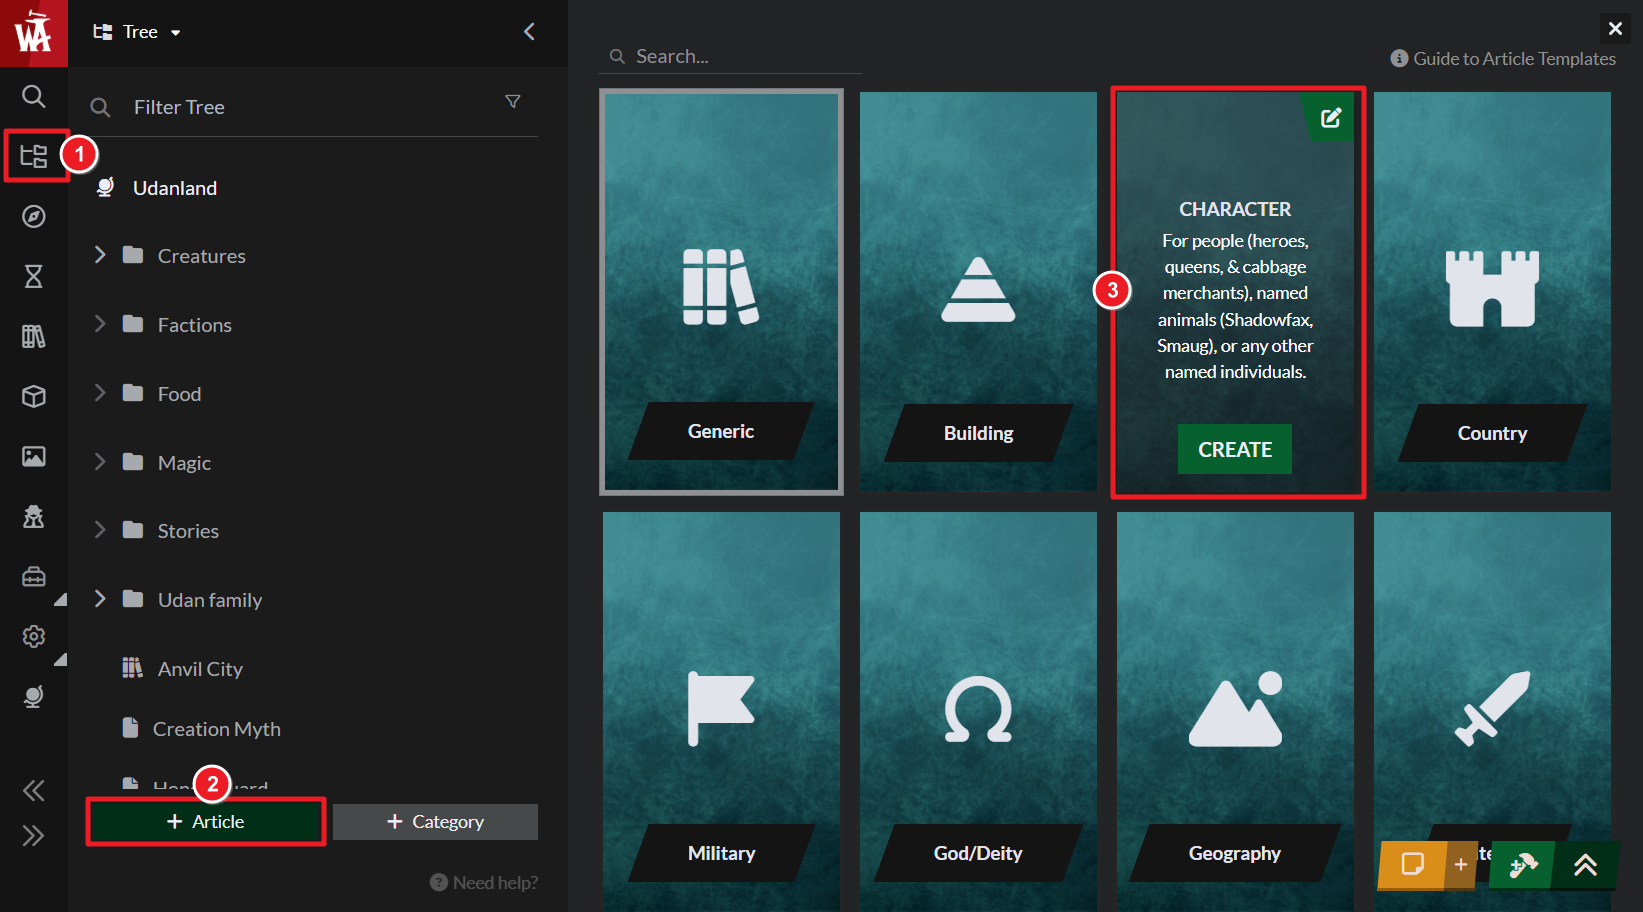
- Give the article a title. Then, you can start writing its content!
Your new article will be autosaved—look for the green save indicator in the bottom left corner of the screen!
Just getting started?
If you're not sure how to start worldbuilding, check out our "How to start worldbuilding" course, which takes you from an empty world to a rich and living setting! Go to the How to start worldbuilding course
Additional resources
- Guide to the Articles & World Manager, for a deeper overview of this interface as a whole.
- How to create an article from anywhere, for an alternative article creation method without opening the Articles & World Manager.
Choosing an article template
Templates are like article "types", tailored to the various kinds of things you might create in your world. They contain relevant worldbuilding prompts, as well as specific features. For example:
- The character template lets you create family trees, add a character image, and has prompts for eye color, height, personality, etc.
- The language template has a dictionary function, to help you organize your conlangs, conslangs, idioms, etc.
- The organization template lets you track diplomatic relationships between the organizations of your world.
All templates have a free writing space, where you can write an article's introduction. You could even write your entire article there, using headers to break the information down into sections! However, each template has specific prompts—such as foundation date for Organization, or grammar for Language—that you can optionally write in for inspiratino. Click the Prompts button in toolber at the bottom of the article editor:

If you’re not sure which worldbuilding template type to choose, or you want to learn more about their advanced functionality, check out the guide to World Anvil article template types!
You can read more about the advanced anatomy of an article here.
Advanced: choosing a text editor
For new Anvilites, we recommend using the Visual Editor, as it's the simplest one. However, the Advanced Editor might also be useful depending on your needs:
Visual editor
- Best option for beginner Anvilites.
- Simple, streamlined experience; default editor when creating your first world.
- Displays your formatting as you type (e.g. bold text appears bold).
- Type a forward slash / to bring up the slash menu and see all available options.
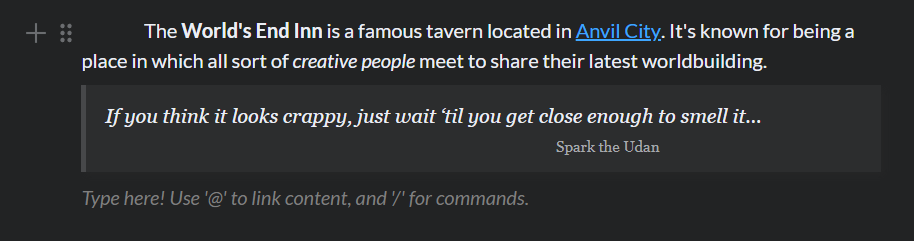
Check the Guide to the Visual Editor fore details.
Advanced editor
- Designed for advanced Anvilites.
- More complex to use, but allows for much more control over layout.
- Uses BBCode for formatting, which lets you create layouts not available in the Visual Editor.
- Read the Guide to BBCode to see all available options.
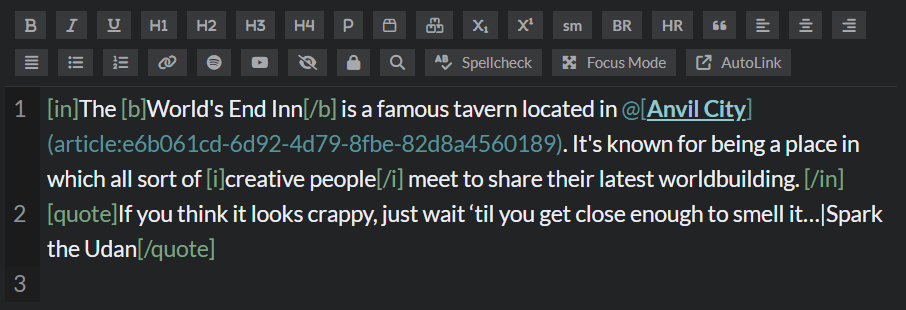
Check the Guide to the Advanced Editor for more information
You can switch editor from article settings or from world settings. Learn more about this in how to switch editors.
2. View your article
Until now, you've been in edit mode—the area of your world where you create and write your articles. But World Anvil also has a view mode, designed for a better reading experience for your readers or players (and yourself!).
The eye icon in the article edit toolbar will display a simple preview of the article. To see it in view mode, click the globe icon instead:

This will open a new tab with the article in view mode. To share an article with your readers or players, you'll have to share the view mode link.
Old Version Edit
World Anvil is currently in a transitional period between two different interface designs and technologies. Some article template features, such as family trees, are for now only available in the old version of the edit interface. Check the guide to the old version edit interface for details.
3. Publish your article (or keep it private)
When you first create an article, it will be a draft. Drafts are only visible to you (and your co-authors). Click on the status indicators next to the article title:
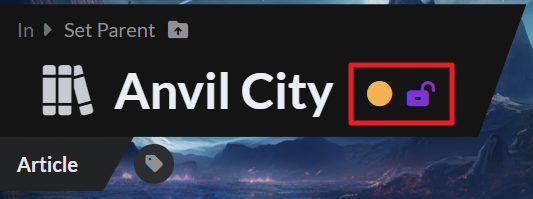
- A closed padlock indicates a private article, while an open padlock indicates a public article.
- A yellow circle indicates a draft, while purple circle indicates a published article.
Clicking on either indicator turns it into the other state (i.e. clicking on the yellow circle will make it purple).
Private and public articles
Available to all Guild subscription tiers. Upgrade here.
For Anvilites in the free tier, published articles are visible to everyone. However, Guild members have additional control: articles can be Published and Private at the same time. Here's what this means:
| Draft | Published | |
|---|---|---|
| Private | No one but you (and co-authors) can see the article. | Only you can see this, but you can give access to specific World Anvil users. |
| Public | No one but you (and co-authors) can see the article. | Anyone on the internet can see the article. |
In other words, Drafts are never visible to other people, but Published articles have varying degrees of access depending on how you set it up. To learn more about giving access to private articles, check the Guide to Subscribers, or the Workflow for keeping secrets for a more general view of all secret-keeping options on World Anvil.
By default, articles created in a public world are also public. However, you can default to new articles being private by using the forced article privacy setting.
4. Organize your articles with categories
Once you’ve created several articles, you should organize them in categories! These work like folders to organize your articles. Categories also have their own view mode page, which presents the articles inside them as well as additional information you can add.
The Articles & Categories interface allows you to manage both categories and articles in your world. It’s a good place to get an overview of all your articles. You can find a full guide for Categories here.
For guidance on which categories you should create, and how to create a system or organizing your worldbuilding, read Tips for creating a great category tree on World Anvil.
Article editing FAQs
Looking for answers, or just where to go from here? We have the most frequently asked Article questions here!
How do I…
- edit the category tree of my world? Your category tree in Articles and Categories is also the category tree of your world, which shows up on your homepage! Rearranging your articles and categories there will rearrange the world tree. Learn more about Categories here.
- co-write articles with other people? You need co-authors… and we have them! You can give co-authors different permissions for your world, depending on how much you want them to be able to access. Learn about coauthors here.
- use secrets in my articles? The easiest way is to use Secrets! You can also follow the workflow for secrets in your world!
- show my private articles to certain people? Learn about subscriber groups.
- create my own article templates? You can’t create your own article templates from scratch, but you can customize article templates for your world. This is useful for cementing a house-style for your world. Learn about customized article templates.