Prepare the setting
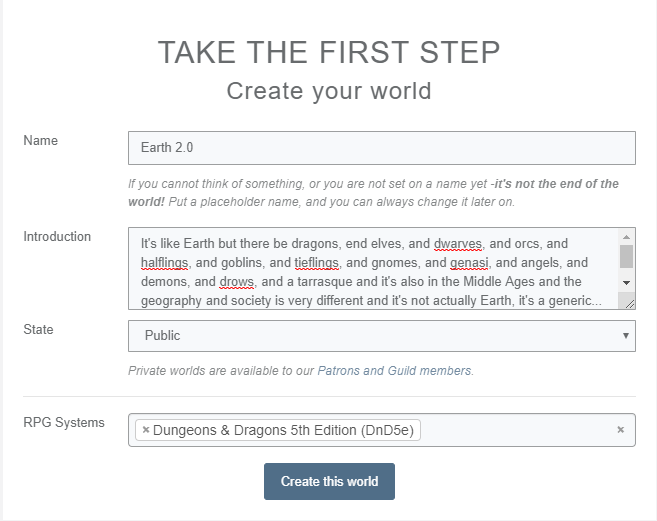
1. Create a World
When you create your account, you'll be given the option to choose between activating the worldbuilding suite or Heroes (the character and campaign management tool).
Choose the former clicking on the big "Create a world" image. This is important, because in World Anvil, a world and a campaign are two separate things. The world stores all the lore, including places, characters, maps, and timelines, while the campaign manager organises your game using the content on your world.
2. Create articles
Articles are the way in which most of your world's lore will be presented. There are different article templates, each one with its own fields and functionality, for different article types, such as characters, locations, documents, species, and more. All fields in any article are completely optional —you can write the whole article in the vignette if it works better for you!
Which template should I use for...
Most templates are pretty straightforward, but there are some cases that may be confusing at first. Here are some examples:
- Countries: Organization template
- Religions and Pantheons: Organization template
- Gods, steeds, and pets: Character template
- Class of spaceship: Vehicle template
- Sports and games. Tradition template
- Magic and psionics: Law template
Basic formatting tips
World Anvil articles are formatted using BBCode. Even if you use the WYSIWYG, this quick cheatsheet will be useful for you:
- [b]text[/b]: Bold text
- [i]text[/i]: Italic text
- [h1]...[/h1]
,
[h2]...[/h2]
,
[h3]...[/h3]
: different levels of headers
- Type an "at" symbol followed by the first letters of an article title to create a link
- Type [ followed by the first letters of a non-article element title (image, map, timeline, etc.) to insert or link it
You have a full BBCode reference in the sidebar of any article edit page. You can also take a look at the
Guide to BBCode Commands
What are all the tabs for?
When you are editing an article, you will see that there is a set of tabs at the top of the page. This is a quick list of their functionality:
- Sections: edit any part of the article that is not the main text body.
- Design: customize you article with a cover image, CSS, an excerpt, and more.
- Navigation: make sure the article is easy to find using categories, tags, and parent articles.
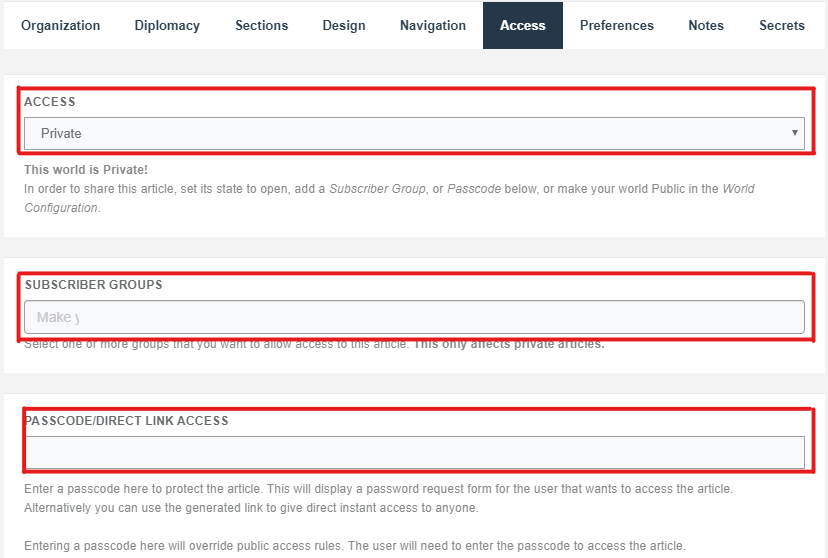
- Access: control who can view the article.
- Preferences: other article settings.
- Notes: add notes to the article, only visible to you.
- Secrets: create small text snippets that are only visible to you or selected players (see Guide to Secrets)
3. Create Timelines
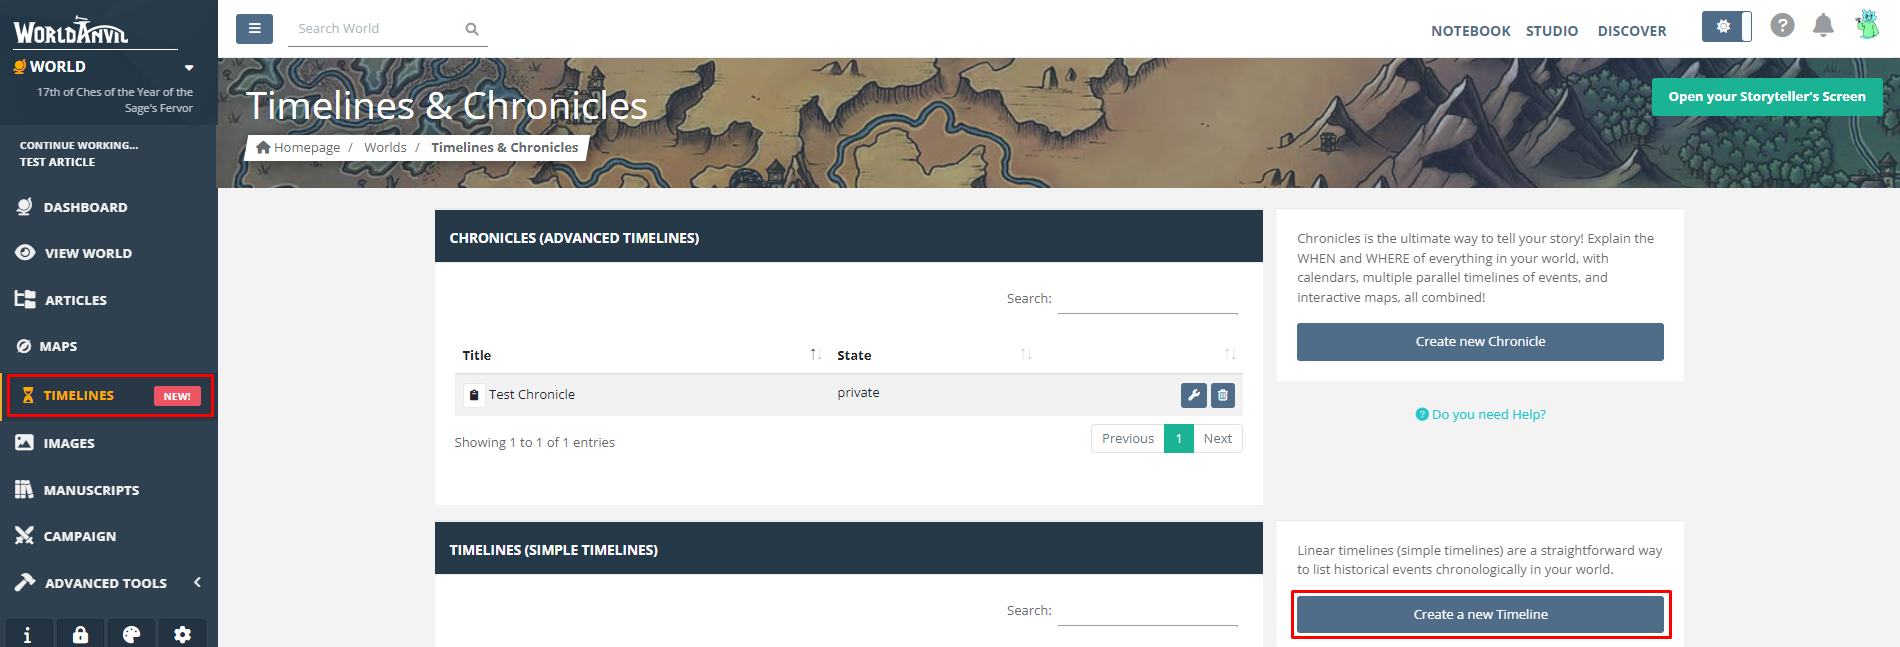
You can use Timelines to show the historical events that lead to the campaign you are going to run. Use a master timeline to show the events that affected the whole world, and parallel timelines for smaller-scale events (affecting a single place or person, for example). Once the timeline is created (you can do so from the
Timelines link in the left sidebar), you can start creating new historical entries with as much detail as you want. Remember to use the Military Conflict template for wars and battles too! You can find more information on timelines in the
Guide to Timelines.
4. Create Maps
World Anvil is not a map-making program. However, it has some very useful features to browse and edit pins or labels. First, you need to upload the map to world anvil from the
Maps page, accessible from the left sidebar. Once the map is uploaded, you can add pins to the map to highlight important locations. Pins can contain a short description as well as links to articles about the location. Additionally, you can link a pin to a map so that when you click it a new map will open. You can use this feature to allow your players (or yourself) to access a very detailed map from the generic one, which works as a fancy zoom!
To do that, create a new marker in the generic world or region map and, in the
Where does it link to? section, choose the detailed map (such as a city) in the dropdown. The map need to be already uploaded to World Anvil. After saving the marker, clicking on it will take you to the second map. Here you can see an embedded map that showcases various map features, including the direct map linking:
To embed a map, type
[ followed by the first characters of the map's name and choose from the dropdown!
5. Create statblocks
Using the Statblocks feature you can create blocks for your NPCs, creatures, items, and more. There are two scenarios here:
- The system you are running has block templates, so you only need to choose from a drop-down and fill in a form. This is the case for popular systems such as dnd 5e, Genesys, and Pathfinder.
- The system does not have block templates, so you won't be able to create statblocks until someone creates the templates. Creating templates is an advanced feature that requires a Grandmaster subscription. More information: Guide to Block Templates
To check if your system has block templates, just go to the
Statblocks ->
Your Statblocks section (which can be found in the sidebar). If the
Choose your sheet drop-down at the top of the page has a list of different kind of blocks for your selected system, then you are in luck! Just select your preferred option and click the
Create a new sheet button. Just fill in the different fields with the stats of whatever you are creating and click the save button!
You can link to this block using the code you will find at the bottom of the block when you are viewing it.[blocklink:123] will generate a link like this:
Dart. [block:123] will directly embed the block in any article:
DnD 5e SRD
SRD
Dart
Ranged Weapon Finesse, Thrown Common
| Type |
Damage |
Damage |
Range |
Properties |
| Simple |
1d4 |
Piercing |
20/60 ft |
Finesse, Thrown |
Cost: 5 cp Weight: 1/4 lb
Note that, as a GM, you can't create your players' character sheets. You can only
edit them after they create them and specifically give you edit access to their characters. More information in the
Player Workflow Guide.
6. Managing your world's visibility
The last thing any GM wants is their players sneaking into the secrets of the campaign, right? Well, World Anvil provides you with various tool that let you define exactly which parts of the world are public or private. Note that privacy features are Guild-only (starting from the lowest tier, Journeyman).
If you don't want your players to see anything at all, you can just set the whole world private from world settings. To change the visibility of an individual article, edit it, go to the
Access tab, and use the drop-down to choose between
Private and
Public. You can find similar settings in any other content type of your world (i.e. categories, maps, timelines, events...).
Finally, you can also make a specific section of an article private while letting the rest of it be public. To do so, go to the
Secrets tab of any article while you are editing it create a new secret! After creating it, use the bbcode tag you will get to embed it anywhere on the article (you can also embed it in other parts of the world). Only you will be able to view the secret.
6.1. Using subscribers
You can use subscribers to control who can access your private content. This is useful if, for example, only some of your players know about a certain element of the campaign. To create a subscriber group, use the
Access Rights page, accessible from the sidebar. Choose the
Groups tab on top and fill the fields in the right sidebar. You will then be able to go back to
Subscribers and add your players' World Anvil accounts to the group you created! If different players know different things, assign them to different groups.
Go to an article's Access settings and choose a subscriber group in the drop-down. After saving the page, only users that have been added to this group will be able to see the article. The same drop-down exists for most content types, including secrets.
Check out the
Guide to Subscribers for more information!
Manage your campaign
1. Create a Campaign
Now that you have your setting on World Anvil, it's time to prepare the actual campaign! To do so, start by creating a campaign from the Campaigns page (accessible, as always, from the left side bar). Fill in the fields, including the
Additional details drop-down if you want to, but remember that you can always edit or add more details later!
2. Invite your players
After creating the campaign, it's time to invite your players, who will need to have their characters already created (see
Player Workflow Guide). Go to the
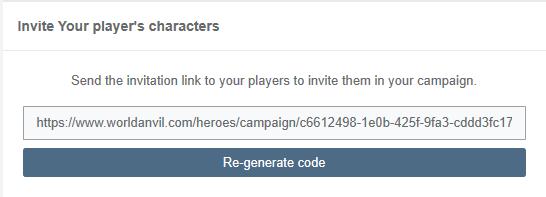
Protagonists (PCs) tab and copy the invite link that will appear there. Send it to your players, who should access it with their PC as the active character.
3. Create the primer
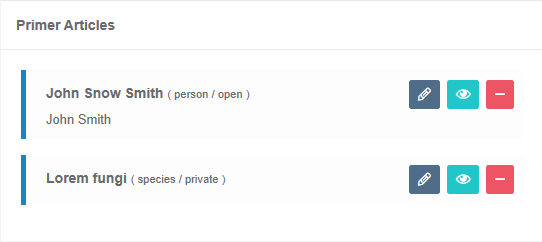
The Primer is a collection of articles in your world that are very important and easily accessible for the players. To add articles to the Primer, go to the
Primer tab of your campaign editing page, where you will see the list of all the articles you have created for the world. Click on the
+ button and the article will be added immediately to the Primer. Make sure that the articles you add are public or otherwise visible for your players! Your players will then be able to quickly read these articles from the in-session live screen
4. Add some NPCs
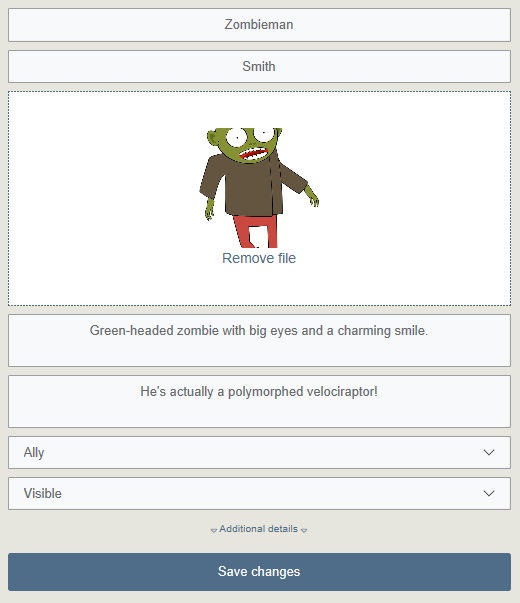
NPCs are a very important part of a campaign, and you can add unlimited ones to the campaign from the
Supporting Cast (NPCs) tab in the campaign editing page. Just click on the
Create a new Supporting Cast Member (NPC) button and fill in the fields (you can edit them later too). If the NPC in question has a character article in the world, or if you have already created a statblock for them, you can select it in the
Additional details drop-down.
After you click the save button, the NPC will be created without a statblock. If you want to add a statblock, follow the instructions in the statblock section above. Then, edit the NPC and choose the block in the
Current Character Sheet drop-down field.
5. Create plots
The amount of detail you will put into the campaign plot is up to your personal preference, but having at least a rough outline is a good idea for any GM. Before adding a plot to the campaign, first you will need to create a plot article —you can do so using the regular article creation method and choosing the Plot template. A plot article can contain the full campaign outline, but also session plots and even single encounters.
Once you have created it, go to the
Plots tab in the campaign editing page and choose the plot from the drop-down list. Of course, you can add as many plots are you want! When you start the next session, you will have quick access to the plot for easy reference.
If you like using media content such as music or videos, you can add them to the campaign's Library. Just open the session live screen and go to the
Audio/Video Collection page from the
Media... menu. Use the options there to add media files (which need to be uploaded somewhere on the internet, such as YouTube or Spotify).
Keep in mind that your players don't have access to the library, so this is useful if you either play in-person or if you have some way to stream music to your players.
7. Create a party
World Anvil lets you create several parties or a single one to manage shared resources and quests. Just go to the
Parties tab and click the
Create a new Party button. Choose a name for the party, write a short description, and choose the characters that are part of the party (as always, you can edit everything later one). To add new quests or equipment to the party in between sessions (or before starting the campaign), click the
Edit Party button.
8. Create a session
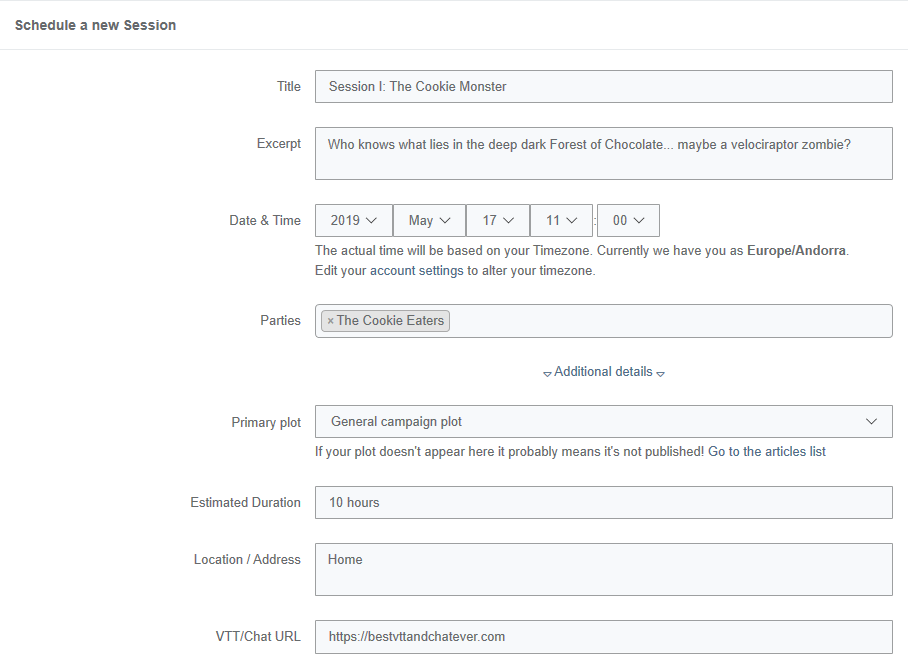
Before starting to play, you will need to create a new session (even if you are running a one-shot). There are several options you can fill when creating a session, including scheduled time and Twitch livestream, but the most important one is to select the party (or parties) that will be playing the session. If you don't choose a party, you won't see the party management screen in the digital storyteller screen!
9. Launching and using the DSTS
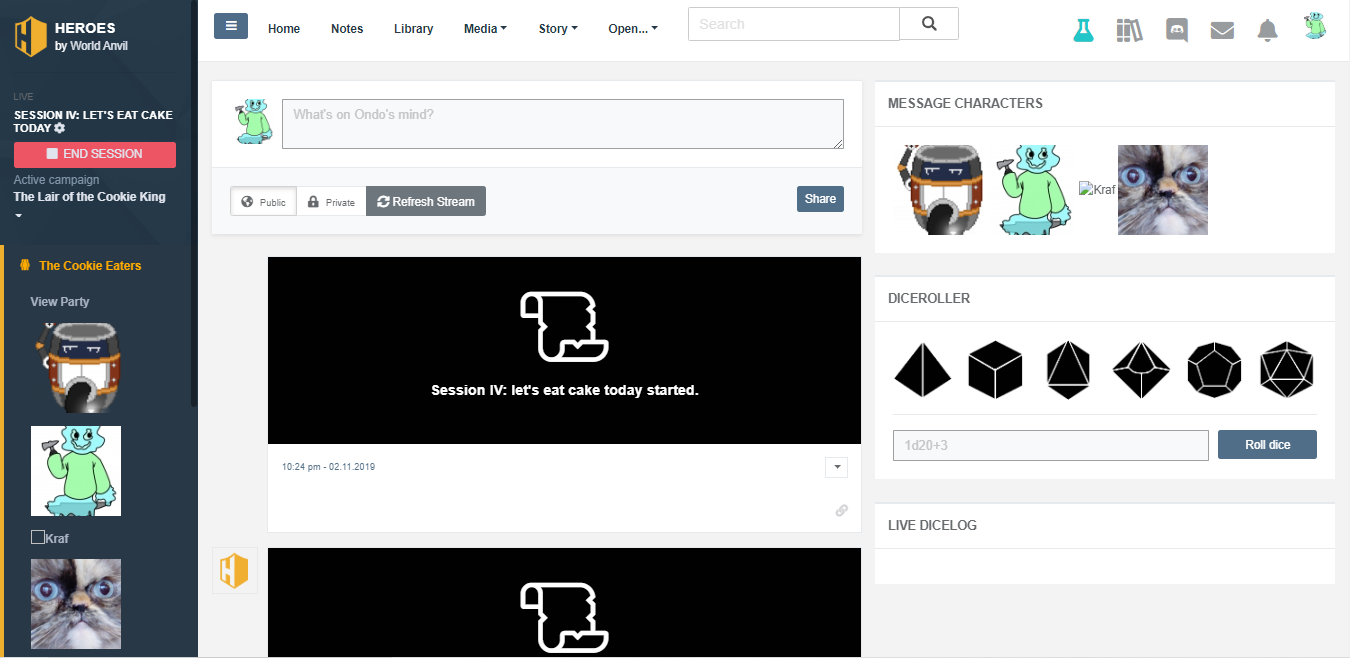
The DSTS (Digital StoryTeller Screen) is an interface that is only visible to the gamemaster of a campaign and can be used to quickly retrieve any kind of information from your world or campaign, as well as your players. To access it, just click the
Start button that will appear in the next session's box (
Sessions tab of the campaign management page). This interface will now open up:
The DSTS has several features, such as party quests management, dice rollers, a handout screen, a quick-access feature for your world's articles and blocks, and so on. Take a look at the
Guide to Running a Session for more details.
When the session ends, you can click the stop button from the DSTS and the session will end. Note that when you do this, your players' session screen will also disappear.
9. Session reports and upkeep
After the session, a new button will appear in the session's box:
Write report. This will take you to a blank article where you can write what happened during the session, so that both you and your players remember everything for the next session. Your players will also have an option to write session journals from their PCs' perspective.
You will probably need to go back to your world's articles and add more information: hints your dropped, more lore elaboration, and overall growing the world. Don't forget to schedule session 2 and invite your players!
Other Workflow Guides
As this Codex progresses, we will add additional workflows for different styles of World Anvil users. Until then, feel free to ask any questions in the comments below and we will respond ASAP!







"If you don't want your players to see anything at all, you can just set the whole world private from world settings. You will still be able to go to individual articles and set them as "open", so that anyone can see them if they have a direct link." This does no longer work. A public article in a private worls is nto accessible: "I am so sorry but you don't have access to this page. This is most probably because the article is private and you don't have the necessary rights to view it."
Good catch! There was a change in how this works. I'll edit that now. Thanks!