The Battle of Rylosin Forest
16th of Larane 723TR
The Battle of Rylosin Forest was one of the most monumental events to shape the future of the Kingdom of Rethem. It was a decisive battle with an outcome no one expected.
The Combatants
The Royal Army


Major elements of the royal military include;
- The Royal Guard (the Champions of the Golden Stag)
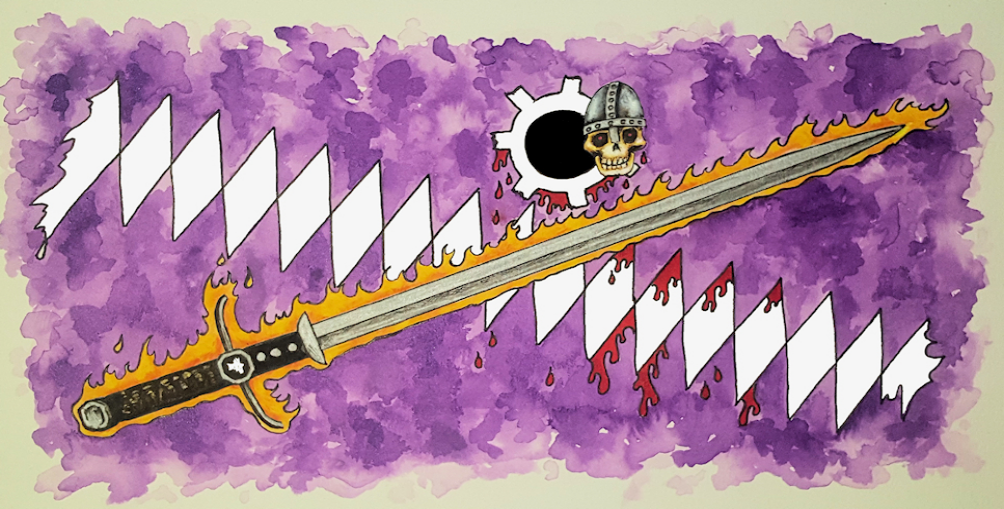
- Order of the Red Shadows of Hepra
- The Companions of Roving Doom
- Order of the Cohorts of Gashang
- Order of the Warriors of Mameka
- Various mercenary companies
- A large feudal levy of hundreds of men of arms and knights.
However, everything is not as it seems. A large component of the army comprises the levies of the Earl of Techen. Techen is considered an unreliable vassal, as the King threatened to get him to join his army. Furthermore, the Cohorts of Gashang are poorly led after the recent death of their commander, and there is considerable animosity and infighting between them and the Red Shadows of Hepra.
Royal Battle Plan
King Chafin's plan was simple: The bulk of the army would advance on the rebels, the Cohorts of Gashang would attack from the left flank, and the Red Shadows of Hepra would attack from the right. However, the King had a powerful hidden unit poised to strike at a critical time.
The Rebel Army


This army is smaller, with fewer feudal levies but more mercenary companies. These are supported by large numbers of Kuboran Barbarians and Ivinian warriors. Additionally, he has the support of elements of the Company of the Copper Hook and the Sisterhood of the Crimson Dancer.
The Earl has made clandestine diplomatic overtures to both the Red Shadows of Hepra and the Earl of Techen. As yet, neither has made any commitment to change sides.
The Rebel Battle Plan
As the enemy nears the boundary of Rylosin Forest, he will attempt to provoke the royal army's vanguard into a premature attack by sending the Baron of Quiso to lead the initial engagement. Outnumbered, he will retreat, followed by the forward elements of the invaders. At the same time, the Kurbora barbarians will attack the rear of the army dominated by the considerable forces of the Earl of Techen. He most likely will be held in place for a time while he deals with this threat. This will stretch out the Royal army so that the Rebels can deal with its vanguard, center, and rear, each, in turn, negating the King's numerical advantage.
How the Battle Progresses
Initial Engagements

The Companions of Roving Doom attack Ithiko in an attempt to draw some of the rebel army away. This fails, and Ithiko's defenders retreat to their strongest fortifications while the barony is looted and set aflame.
The Baron of Quiso leads his forces at the enemy's vanguard as they emerge from the forest and are soundly beaten. They flee the battlefield, and the Baron narrowly escapes with his life.

The royal vanguard pursues the fleeing Baron of Quiso, and the Earl's Kuboran allies attack the Earl of Techen at the royal army's rear. This spreads out the royal army, at least for the moment.
The Armies Clash

King Chafin sends the forward elements of his army at the rebels and orders the Cohorts of Gashang and the Red Shadows to mount attacks on the flanks. The Red Shadows claim the orders were never received and stayed in place.

The battle is evenly poised. However, King Chafin does not commit his reserves. He has other plans.
The King's Gambit

The Cohorts are poorly led and withdraw, relieving pressure on the rebel's right flank. Meanwhile, the Earl of Techen drives away the Kuboran Barbarians.
King Chafin is confident. He has a nasty surprise in store for the rebels. The night before, under secret orders, the Warriors of Mameka have maneuvered to the rebel's rear. This is a small but dangerous force of well-armored knights fighting on foot and grenadiers using a terrifying array of alchemical weapons.
The Warriors strike with complete surprise at the Earl's lightly defended encampment. Only some poorly trained levies, the Earl's sparse reserves, and three squadrons of Sisterhood of the Crimson Dancer cavalry are available for defense. The battle is brutal; the warrior's grenades cause havoc, and the knights move forward, decimating the Earl's reserves. As the knights advance, the Crimson Dancer cavalry run down the grenadiers and then turn to attack the Mamekan Knights. A heroic squad of Mamekan Knights withstands five furious charges and breaks into the Earl's camp. The Earl of Tormau is wounded but survives, and the Mamekans are destroyed.
Last Roll of the Dice

The result ended in disaster. King Chafin is cut down mid-charge.
Victory

The rebels are far too depleted and tired to continue fighting. With the King dead, the Red Shadows turn on their hated rivals, the Cohorts of Gashang, and massacres them. They then return to their fortress of Menekai. Meanwhile, the Earl of Techen sues for peace and retreats.
The Last Act of a Tyrant
However, the King has one last nasty surprise, on the night of the Earl of Tormau's greatest victory, he is assassinated in his bed.
Excellent battle report, the only thing better would have been pictures of miniatures!