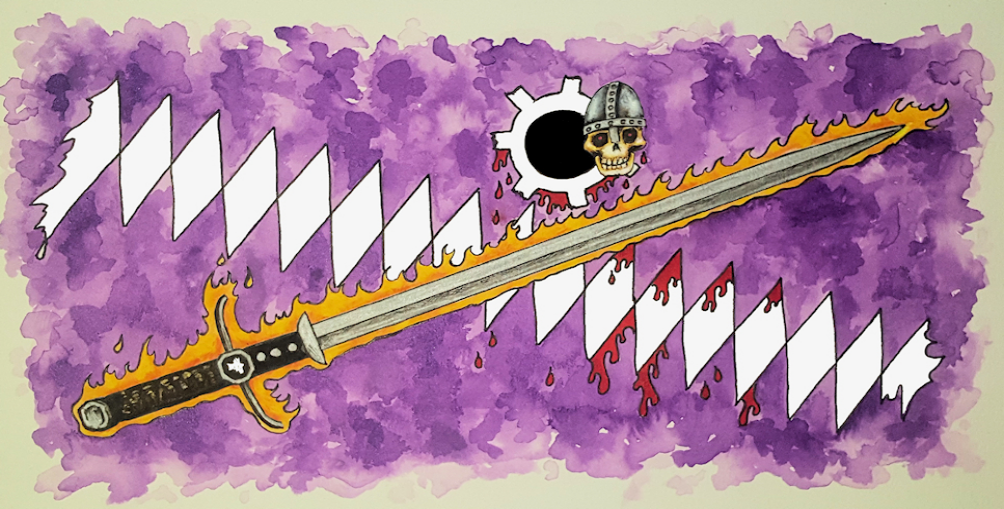
Session 153 - The Battle of Rylosin Forest
General Summary
15th to 16th Larane (Second Month of Summer) 723TR
The story so far
The Kingdom of Rethem is engulfed in a bloody civil war with the heroes fighting for the rebels, led by the cunning Earl of Tormau. The Royal Army is on the march and what is expected to be the pivotal battle of the war is only a day away.
The heroes have just successfully mounted a raid on the Royal Army, killing their old foe, Sir Scarow of the Order of the Cohorts of Gashang. From his dead body, they have claimed the holy mace, the Bloody Comet. The Cohort's bitter rivals, the Order of the Red Shadows of Hepra, believe this divine weapon rightfully belongs to them.
The continuation of Session 152 - The Bloody Comet.
The Battle of Rylosin Forest
16th of Larane 723TR
The Battle of Rylosin Forest was one the most monumental events to shape the future of the Kingdom of Rethem. A decisive battle with an outcome no one expected. What follows are excerpts from the undisputed historical records.
Preliminary Actions
As the royal army makes its way across the wild forests of Hohnamshire, they are constantly harried by the Earl of Tormau's Kuboran Barbarian allies. But, more significantly, a well-coordinated raid struck the Cohorts of Gashang flank, and its commander Sir Scarow was killed. This left the Cohorts without strong leadership, which will have significant consequences on the next day's battle.
The day of the battle started badly for some in the royal army, King Chafin III, and many of the Royal Guard suffered an unfortunate case of food poisoning. However, the King was well enough to issue orders, and the majority of the army was eager, fit, and ready to fight.
Deployment
The royal army plan was simple, the bulk of the army will advance on the rebels, and the Cohorts of Gashang will attack one flank and the Red Shadows of Hepra the other.
Meanwhile, the rebel army deployed most of its forces to defend against the royal army as it emerges from Rylosin Forest.
Initial Engagements
The Baron of Quiso led an initial attack on the royal army and were soundly beaten and fled the battlefield. The vanguard of the royal army marched forward and was met by the bulk of the rebel army. At the same time, the Kuboran Barbarians struck at the rear of the royal army, holding the considerable forces of the Earl of Techen in place.
The Armies Clash
With the royal vanguard engaged, King Chafin carefully manages his army. The Cohorts attack the rebel's right flank; however, the Red Shadows seem hesitant to attack the left flank. Even so, the battle is even with both sides taking appalling casualties. King Chafin still has his reserves and the Earl of Techen's forces, who have just driven off the barbarian assaults, available but does not seem willing to engage them. He has other, more devious plans in mind.
The Kings Gambit
The night before, under secret orders, the Warriors of Mameka have maneuvered to the rebel leadership's rear. This is a small but very dangerous force of well-armored knights fighting on foot and grenadiers using a terrifying array of alchemical weapons.
The Warriors strike with complete surprise at the Earl's lightly defended encampment. Only some poorly trained levies, the Earl's sparse reserves, and three squadrons of Sisterhood of the Crimson Dancer cavalry are all that is available for defense. The battle is brutal, the Warrior's grenades cause havoc, and their Knights move forward, decimating the Earl's reserves. As the Mamekan Knights advance, the Crimson Dancer cavalry run down the grenadiers and then turn to attack the Mamekan Knights. A heroic squad of Mamekan Knights withstand five furious charges and break into the Earl's camp. Before they are destroyed, the Earl of Tormau is wounded and all of his entourage killed.
Final Clash
Invigorated by escaping what should have been certain death, the Earl of Tormau rallies his troops, and soon, the rebel army gains the upper hand. The Cohorts on the flank of the rebels, without any firm leadership, break and retreat. King Chafin commands the Earl of Techen and the Red Shadows to attack but, both appear hesitant. With no other choice, he commits his reserves and the Royal Guard. The rallied rebel army, led by the inspirational Earl of Tormau, repels the attack, and King Chafin III Araku dies in the melee. The royal army breaks and flees the field.
Final Actions
The rebel army is too depleted and tired to continue fighting or pursue. With King Chafin dead, the Red Shadows turned on their former allies and hated rivals, the Cohorts of Gashang, massacring them. They then return to their fortress of Menekai. Meanwhile, the Earl of Techen sues for peace and retreats.
However, King Chafin has one last despicable surprise. On the night of the Earl of Tormau's greatest victory, he is assassinated in his bed.
What Really Happened
Location - In farmland between Rylosin Forest and Quiso Keep.
Part 1 - Diplomats

Athena is to deliver a letter offering then a range of concessions, including the return of the Bloody Comet to the Red Shadows, expelling their hated rivals the Cohorts of Gashang from the Kingdom and ignore their "illegal" mining operations for seven years.

Part 2 - A Case of Food Poisoning

Yureb, hidden at a distance, uses his Earthmaster Green Eye of Turembor. He has an excellent view of the camp and notes King Chafin and some of the Royal Guard are badly affected. He is not as dynamic and agile as usual. The enemy put this malaise down to food poisoning, and Royal Chief is beaten. Nevertheless, the King proceeds with confidence; after all, he has the larger army, most of which are fully fit.
Part 3 - The Kings Gambit
The armies collide with heavy losses on both sides, but the King holds back his reserves. Although the Red Shadows appear to be stalling for time and have not attacked the flank as ordered, the King is confident. He has a nasty surprise planned, a secret he kept from all but his most trusted commanders. A hidden unit of Order of the Warriors of Mameka has secretly maneuvered behind the rebel lines and attack the Earl's camp. If the Earl were to die, so would the rebellion.
The Mamekan Warriors fighting on foot are highly trained, heavily armored knights wielding magnificent "enchanted" sword which easily cut through the defender's armor. Worse they are supported by grenadiers. These infantry use slings to hurl explosive and gas bombs into the rebel lines, causing death and confusion.
Athena assumes command of the defenders and leads her three squadrons of Crimson Dancer in defense of the Earl. The battle is fierce. She eliminates the grenadiers and one of the squads of Mamekan Knights; however, the Earl's reserves are slaughtered. The remaining Mamekan Knights close on the Earl's fortifications. Athena personally leads five ferocious last-ditch charges; however, the few remaining Mamekan Knights fight heroically, advance into the Earl's compound, slaughtering all within before they are cut down. Unfortunately, the Earl of Tormau is killed in this brutal assault.
Things look grim; with the leader of the rebels is dead, the rebellion looks effectively over. The morale of the rebel army will likely collapse, and defeat looks imminent.
Part 4 - The Earl Lives
Before word gets out, Quazzy takes immediate action. She is a powerful spellcaster and mistress of magical disguises, her specialty. She takes on the appearance of the Earl of Tormau and puts on a performance of her life. She is inspirational. Assisted by Athena, the fake Earl of Tormau rallies the army and leads them to an unexpected victory. Meanwhile, Yureb conceals the Earl's dead body.
That night Yureb stages the "murder" of the Earl. His dead body is found, and the assassin is discovered and "killed" by the heroes. On his body is an excellently forged assassination contract, supposedly written by Athena's nemesis and loyal supporter of the King, Rarval Hamlen. More of Yureb's handiwork.
The heroes are well aware that they have been using magic in such a blatant manner that would bring on the wrath of the Order of the White Hand, who oppose any magical interference in the mundane world events. So they decide it would be best to take the secret of what really happened to their graves.
Part 5 - Victory
The Earl's younger brother Vavryse Lynnaeus is named the new Earl of Tormau as he was privy to all his brother's plots. He ends the war successfully after negotiating a truce and then fealty of the remaining significant combatants (the Red Shadow of Hepra, the Companions of Roving Doom, and the Earl of Techen). His son Saval Lynnaeus will be crowned the next King, with Earl Vavryse ruling as regent until he comes of age in seven years. The new Earl has much to do as he assumes power as there are many rebellious and resentful lords and organizations to deal with.
To be continued.NPC Interactions
Akarata Larga Gydsilen of the Red Shadows of Hepra.
Challenges Overcome
Athena negotiated a "truce" with the Order of the Red Shadows of Hepra.
Quazzy weakened King Chafin. This slowed his responses and the ability to command and inspire his army.
Although the heroes could not save the Earl's life, they impersonate him to conclude the battle successfully.
Created Content
Related Reports
Sisterhood of the Crimson Dancer.
Order of the Red Shadows of Hepra - Updated.
Order of the Cohorts of Gashang - Updated.
Order of the Warriors of Mameka.
King Chafin III - Updated RIP.
Earl Denyl Lynnaeus, the Earl of Tormau - Updated RIP.
Players Character Status
Athena the Banshee - Level 19 Paladin of Vengeance - gained Level.
Yureb - Level 19 Arcane Trickster - gained Level.
Quazzy - Level 5 Necromancer and Level 14 Warlock Disciple of Desridaen - gained Level.
The Heroes are now Level 20.
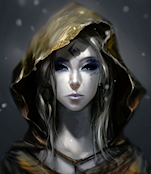
Quazzy
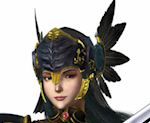
Athena
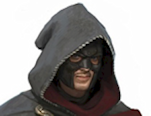
Yureb
NPC Companion
Dame Lucia Kalormar, Athena's Aid

The Combatants
Clan Araku
The House of the Royal Family.
Clan Lynnaeus
A powerful family in rebellion planning to replace the King.

Fighting Orders
Order of the Red Shadows of Hepra

Champions of the Golden Stag
The Royal Guard.
Sisterhood of the Crimson Dancer

Order of the Warriors of Mameka

Rod of Awe

Appearance: A metallic rod adorned with clear Crystals.
Attunement: Psionics or Charisma check DC 10 to Attune.
Properties: When held aloft and invoked, the rod causes all living creatures within 50 feet (except the user) to become fatigued. Usable maximum once per 24 hour period.
Affected creatures must make a DC20 Charisma Saving throw.
If they succeed by 5 or more - No effect.
If they succeed - They suffer 1 level of Exhaustion.
If they fail - They suffer 2 levels of Exhaustion.
If they fail by 5 or more - They suffer 3 levels of Exhaustion.
Undead, Fiends, Celestials, and Elementals are not affected by this item.
Charges: 2d6.

Green Eye of Turembor
Appearance: A spherical, transparent greenstone
Attunement: Not Required.
Properties: When held to the eye, it gives its user a green-tinted magnified view of any object in the line of sight. There is almost no limit to the range.
Comments
Author's Notes
I used MCDM Kingdoms and Warfare Kickstarter rules for Crimson Dancer vs. Warriors of Mamekan clash.
Key events for the overall battle were determined by a basic % dice roll. In most cases, the players rolled well, a bad dice roll at any point would have resulted in disaster. In the final confrontation with King Chafin's fateful last charge, the players rolled exceptionally well (98%) for the outcome.
Athena rolled exceedingly well with her negotiations with the Red Shadows, and Quazzy rolled a natural 20 on her acting performance.