
Campaign 4, Session 19
1291AYD
18/12 14:00
18/12 14:00
The heroes reunite, defeat the necromancer and his clockworks, and rescue his prisoners.
Hans found a training room with Jimmy on the floor, seemingly dead, and another automaton. The creature attacked Hans but he was saved when the others elected to pull the lever again, separating him from that room. Guiliman charged ahead to the north, the necromancer's body nowhere to be found, and came across a door. Mongoose meanwhile joined with Hans, and the group elected for Christie to pull the black lever again. Eventually, the group was able to get into the room and destroy the automaton, as well as revive Jimmy.
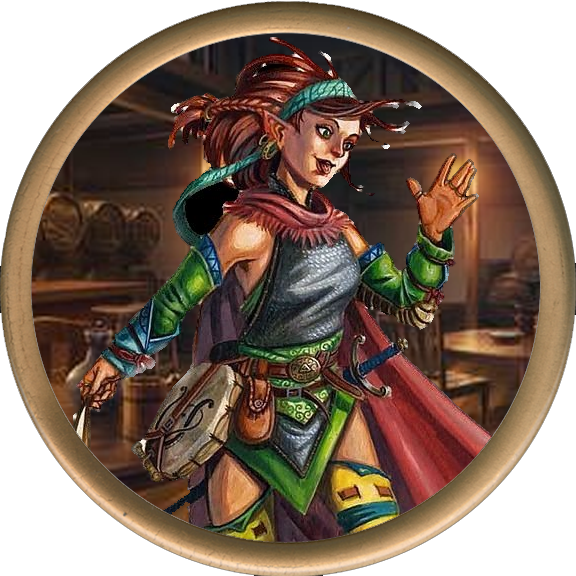
Looking for where to go next, the group found the doors to the north led to a wall, but suspected it was the type of wall that would change depending on the configuration of the levers. They instead elected to travel west, where they encountered two more automatons and the necromancer sitting in his throne, recovering. He was able to blast Jimmy with a magical missile, but then Mongoose tripped him with a magical chain, allowing Guiliman to slay the wizard, the warrior making sure to attack the body until he was sure it was dead. The group dispatched the automatons, and took the necromancer's things. Hans looked through the necromancer's journal, learning he was once a man named Zargolash, and that he had lost an eye in a gunfight (which explained his mask) and that he dreamed of conquering the region through a combination of automatons and undead.
Using the necormancer's key, they made their way into his bedroom, where they found more magical items and treasure, including a magical stone that allowed one to disguise themselves magically. They also heard the noise of a man pounding on the walls from the other side, taunting the necromancer and promising to kill him if he ever escaped. The group explored further south to find a set of cells, and in the cells they found the following people:
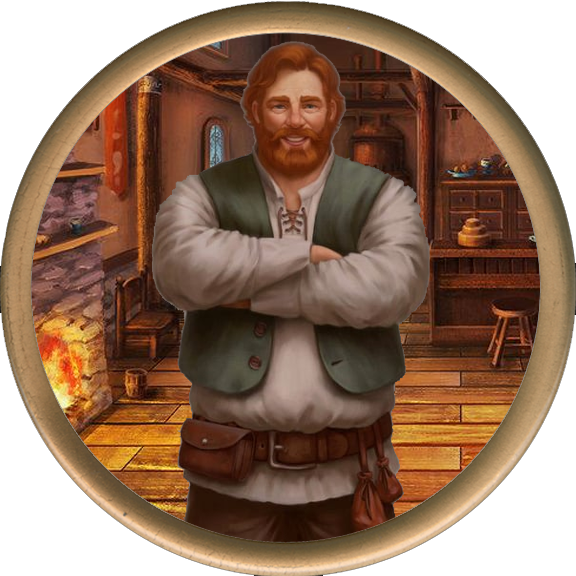
- Jormez Kerrisk - A cleric in the service of The Wanderer, he was traveling through and decided to explore the Spire, but was captured and kept prisoner by Zargolash, who used him to keep the prisoners alive.
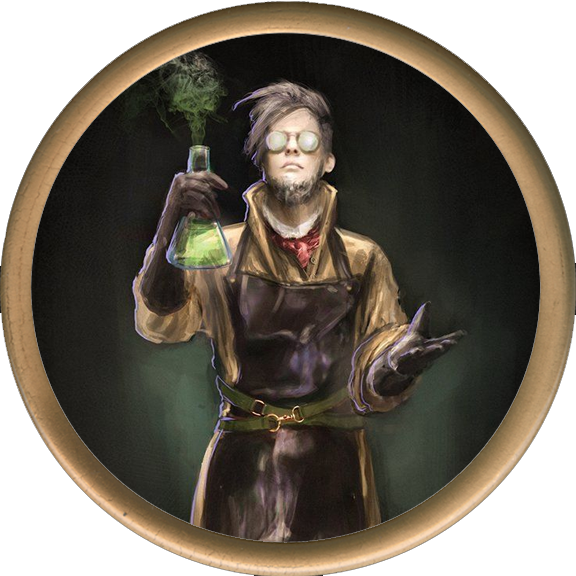
- Ramud Gravedigger - A wizard of the Violet Fire Order, he and another wizard were sent to investigate the Spire, but were captured. The other wizard, Zarina, escaped using a concealed potion of gaseous form, traveling further down the Spire.
- Salzyfe and Zundila - The undine wives of Jarash the Crablord, they were captured as collateral to keep Jarash in line.
The group was initially suspicious of them, unsure if they should be let out. Jormez explained he was a cleric in the service of The Wanderer, and explained what his deity was about, Hans remembering that they had a number of items taken from the goblins on the 1st floor that may have been his. Once he was released, he healed the party, and insisted before they go, that he find his sword and other equipment.
Jormez lead all of them into Zargolash's trophy room, where the prisoners found their gear stored, and all of them used the Spire tokens to teleport to level 5, dropping off Salzyfe and Zundila to a grateful Jarash, and then to level 1. Both Jormez and Ramud accompanied the group back to the Ironspine Village, where they healed up and rested.


Copyright 2024 Stuart Davidson (BTLOTM or ByTheLightOfTheMoon)