Overview
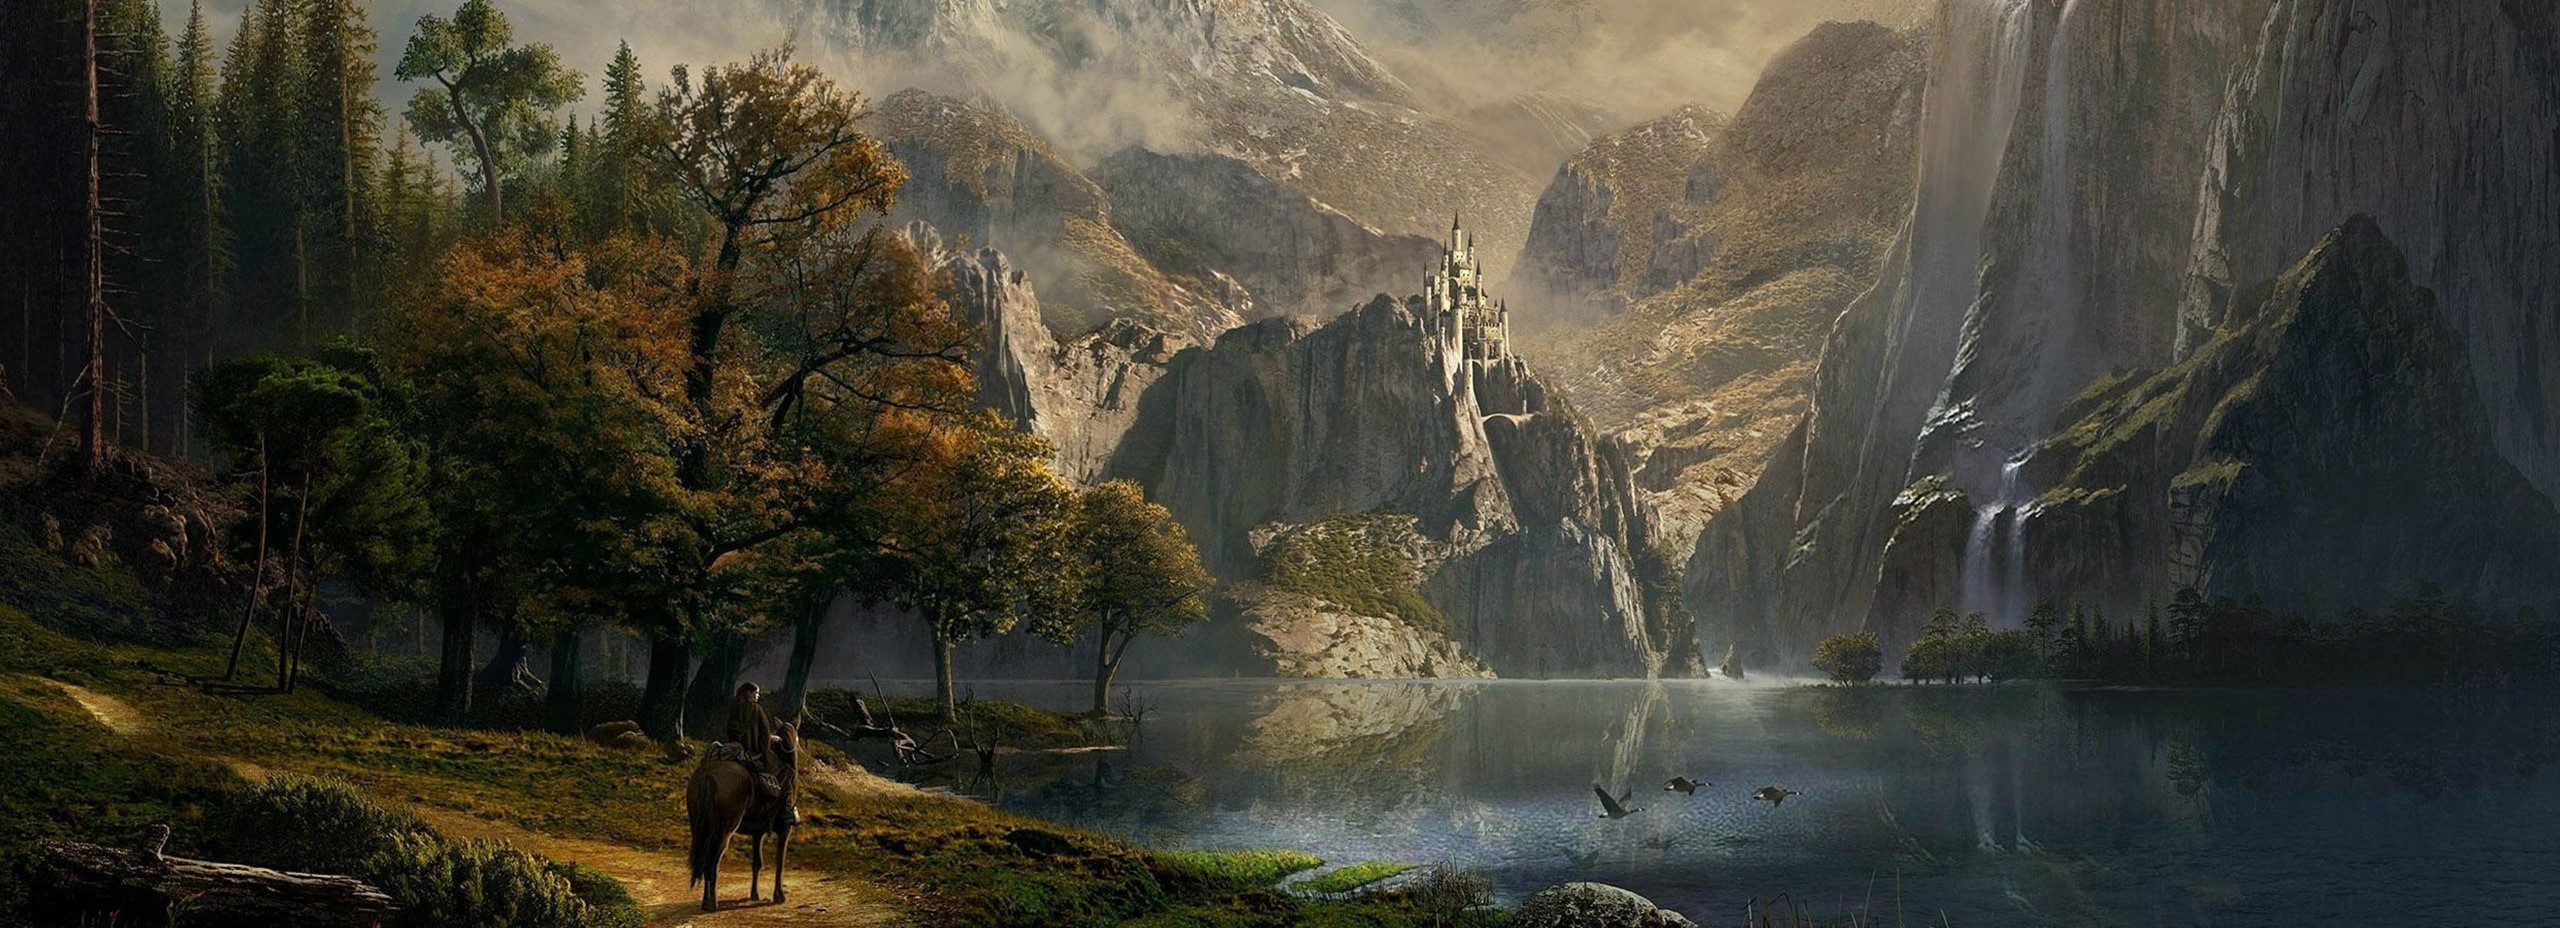
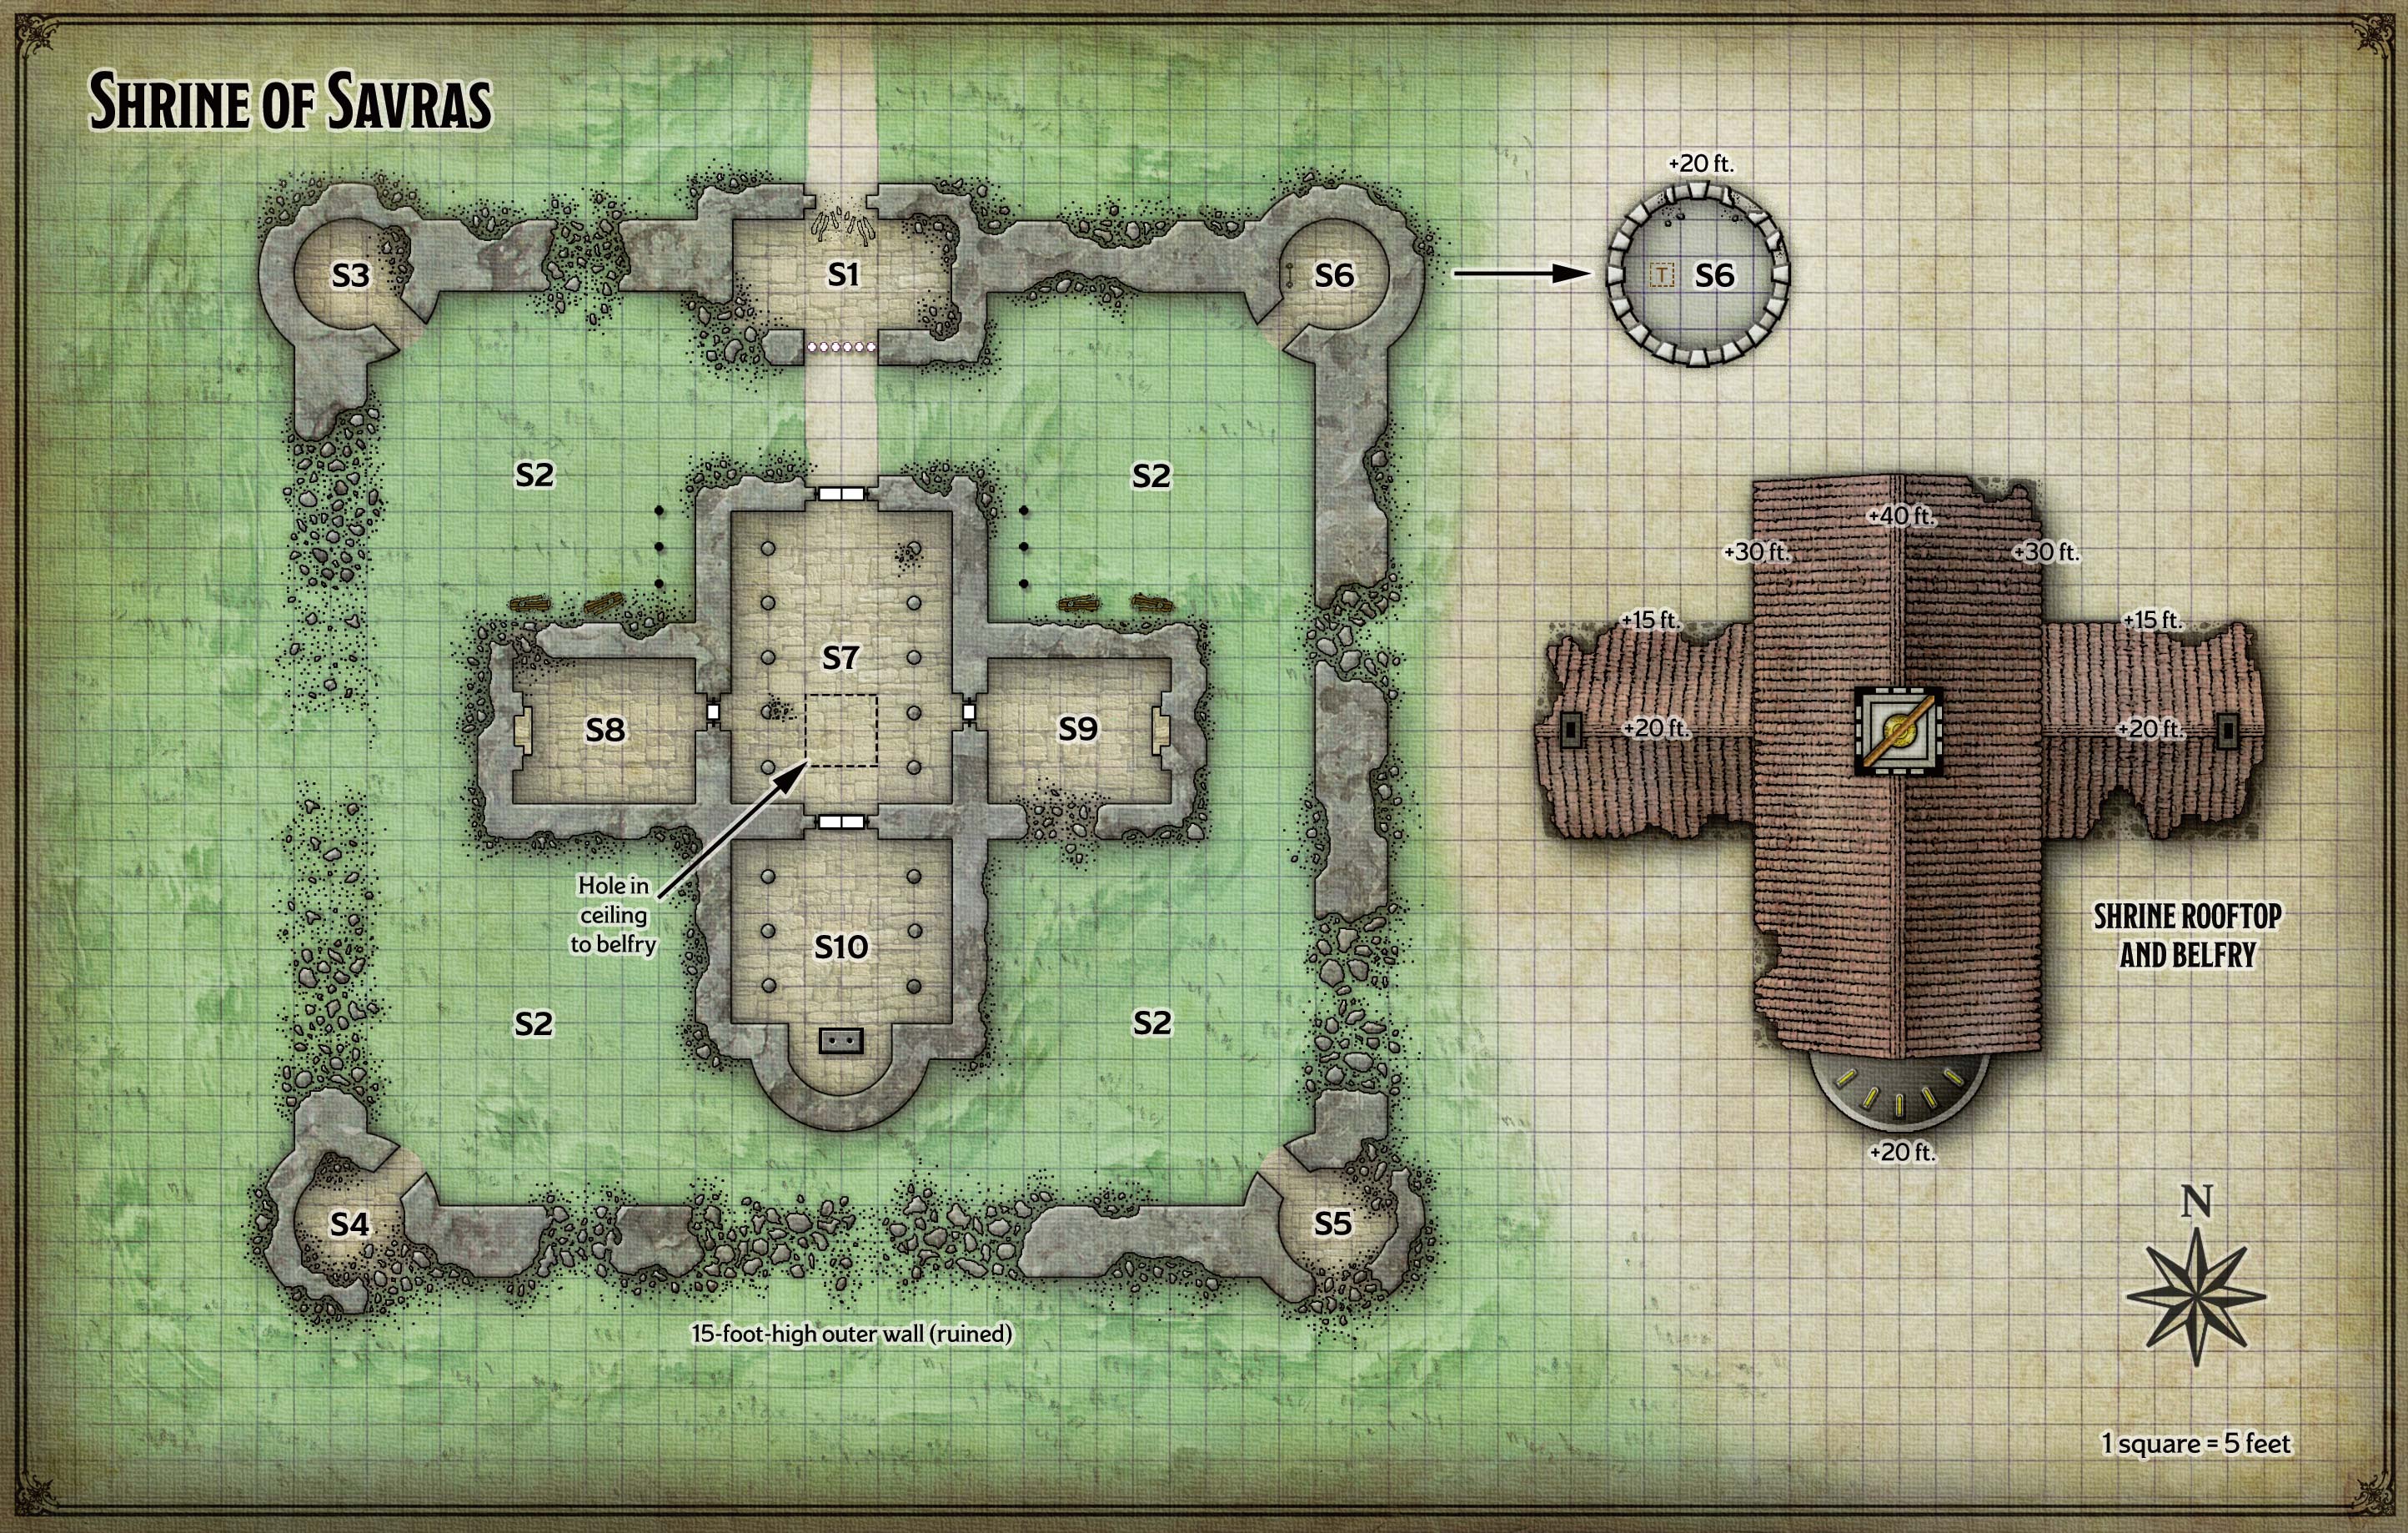
An old dirt trail stretches from the Triboar Trail to the shrine. The ruin stands in the middle of a vast field north of the rocky foothills of the
Sword Mountains. The old stone temple has a belfry jutting from its peaked roof, and is enclosed by stone walls, many sections of which have collapsed. The trail ends at a crumbling gatehouse, the doors to which were sundered long ago. Three of the four towers that once stood at the corners of the outer walls have collapsed. Only the northeast tower remains.
Five miles south of the Triboar Train is a shrine dedicated to
Savras, god of divination and fate. Many years ago, a group of refugees fleeing barbarians took refuge at the shrine.
The barbarians eventually tracked the refugees to the shrine, besieged it, and slaughtered everyone inside. In the days leading up to this final battle, the priests helped the refugees hide their gold in plain sight. They melted down the coins and recast them into a
bell, which they painted and hung in the shrine’s belfry (replacing the old iron bell). The gold bell hangs there to this day.
Over the years, many other creatures have occupied the shrine. Most recently, a gang of
wererats laired here until they were driven out by
orcs displaced by Cryovain the
white dragon. Recently,
ogres wandered by the shrine, saw the orcs, and decided to join them.
There is an orc atop the northeast tower (area S6). During the day, creatures can’t approach the shrine without being seen by this sentry, as there are no places to hide in the level field surrounding the shrine. If creatures wait until nightfall, clouds obscure the moon and enable them to approach unseen, as long as they stay outside the 60-foot range of the orc’s darkvision. If the orc spots creatures, it cries out, rousing the shrine’s other occupants. Once roused, all those occupants attack.
Shrine Locations
S1. Gatehouse
The gatehouse is 20 feet high, and its outer doors have been smashed to flinders. A rusty iron portcullis blocks the south exit, but is bypassed by a rubble-filled hole in the southwest corner of the gatehouse. The winch to raise the portcullis has been destroyed, but the portcullis can be lifted manually with a successful DC 25 Strength (Athletics) check if desired.
S2. Courtyard
Twelve
orcs and three
ogres camp in this grassy courtyard, which is littered with bones, broken weapons, and shattered armor from past battles. The courtyard has four quadrants. The ogres claim the southeast quadrant, while the orcs claim the remaining quadrants.
The courtyard’s northwest and northeast quadrants contain rotted wooden troughs and posts that were once used to feed, water, and tether horses.
S3. Northwest Tower
This tower is open to the sky and strewn with rubble.
S4. Southwest Tower
This roofless tower has a rubble-filled break in its southeast wall.
S5. Southeast Tower
Little remains of this tower. Lying amid the debris is a rusty iron
bell that weighs 500 pounds.
S6. Northeast Tower
This tower is the only one of the shrine’s four towers that has not fallen. An iron ladder inside the tower climbs to a stone trapdoor in the ceiling, through which creatures can reach the tower’s battlemented rooftop. An
orc watches the surrounding countryside from atop the tower.
S7. Main Hall and Belfry
Rows of crumbling pillars support the 40-foot-high vaulted ceiling of this hall. Humanoid bones litter the dusty floor, and a 10-foot-square hole in the ceiling leads to the belfry. No rope hangs from the
bell, which appears to be made of untarnished copper. The belfry can be reached from outside by climbing the outer walls and rooftop, which requires a successful DC 15 Strength (Athletics) check. Adventurers can reach the belfry from inside using magic such as a
spider climb or
fly spell.
Close examination of the bell reveals that its thin sides are solid gold covered with peeling copper paint. The bell, which is 3 feet wide and weighs 50 pounds, hangs from an iron fixture bolted to a wooden crossbeam. Anyone with
carpenter’s tools or
smith’s tools can use them to detach the bell from the beam in 1 minute. Any creature under the bell when it falls must succeed on a DC 12 Dexterity saving throw to get out of the way, or take 4d6 bludgeoning damage. The gold bell is worth 2,500 gp.
S8. Visitors' Sanctuary
Guests of the shrine were housed here. Later, the
wererats used this area as a lair. The room contains six beds with moldy mattresses, the shattered remains of a wooden table and six chairs, and a soot-stained fireplace containing a rusty cauldron hanging from a spit. A narrow break in the north wall provides an alternative exit.
S9. Priests' Sanctuary
The priests of
Savras slept and cooked their meals here. All the furnishings in this area have been destroyed, and part of the south wall has collapsed.
S10. Altar of Fate
Six stone pillars brace the vaulted ceiling of this temple, the floor of which is buried under a thick layer of dust. Also covered in dust are four humanoid skeletons in tattered priestly vestments, lying near a stone altar situated in an alcove under four narrow windows. Carved into the front of the altar is a humanoid eye.
Anyone who searches the altar and succeeds on a DC 10 Wisdom (Perception) check realizes that the altar’s base doesn’t quite touch the floor. The altar has stone rollers built into it and can be pushed 3 feet to the south, revealing a wooden box tucked inside a 1-foot-square cavity in the floor. This box contains 77 gp.


Comments