Anatomy of a Picture #2: Recreating the Dragon
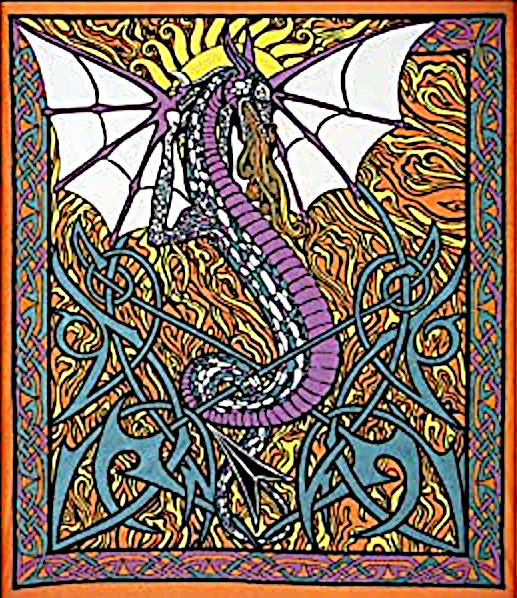
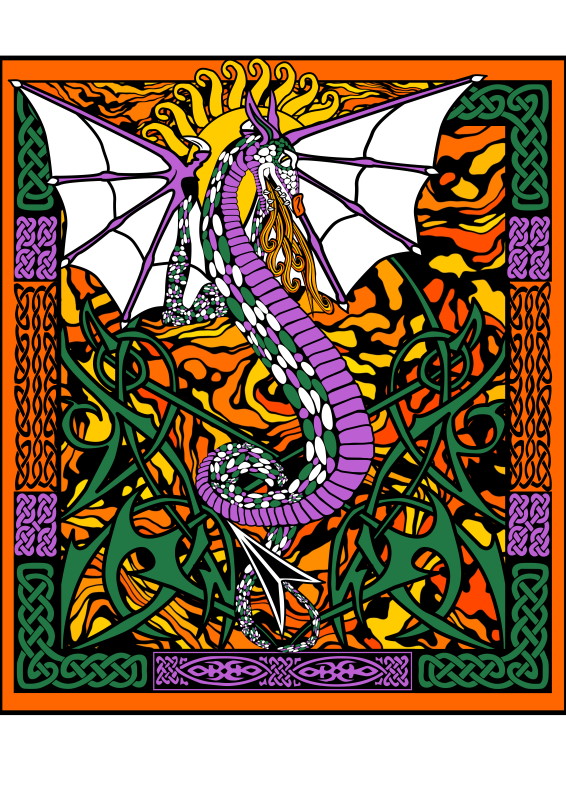
This is not necessarily AoD-based content, but a side-project/collaboration with a RL friend of mine who's into diamond painting. I had no idea what it was I assumed something to do with iridescent or metallic paints but my friend Cassie demonstrated the process to me. She asked if I wanted something made and after some time pondering I decided I wanted a replica of this old tapestry on my window. Only one problem.
The thing is freaking OLD. I got it from TexRenFest in 2008 thereabouts, and I've TRIED to find it online in the event I need a replacement, but I can't find it ANYWHERE. I think it's either called "Solar Dragon" or "Vivid Dragon". I assume it's been discontinued. It's showing its age, it has a few tears here and there from rambunctious cats. I used to keep my blinds open so I could show it off but someone reported me for "being offensive". Who the heck gets offended by a Celtic dragon? So I keep my blinds closed and the tapestry helps filter sunlight so it's not too overpowering in the mornings.
So I thought "I got all these wonderful drawing programs...how about I simply REMAKE the image?" The gears in my head already started turning and I plotted out how I'd go about doing it. The dragon actually ended up being the easiest part....
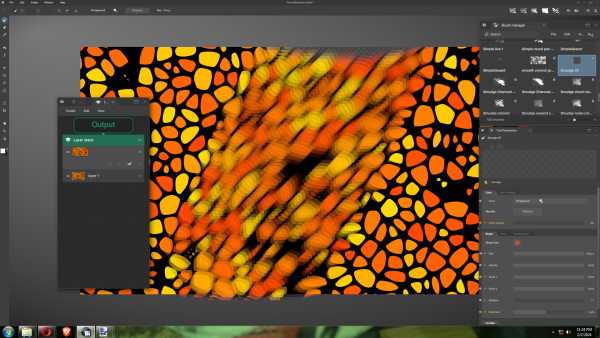
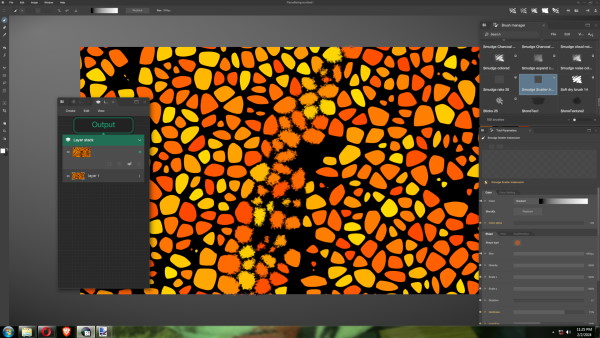
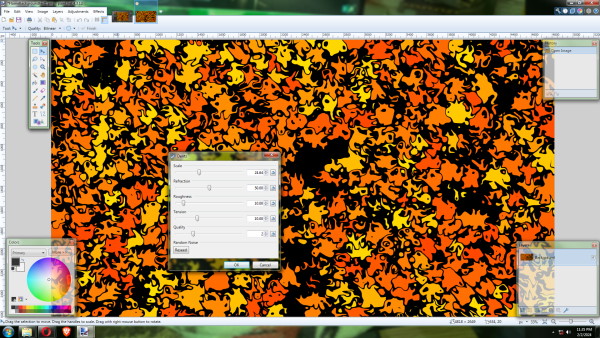
Ok so that didn't work, but I liked the color setup, so there has to be a way I can get the effect I needed. Off to Paint.net.
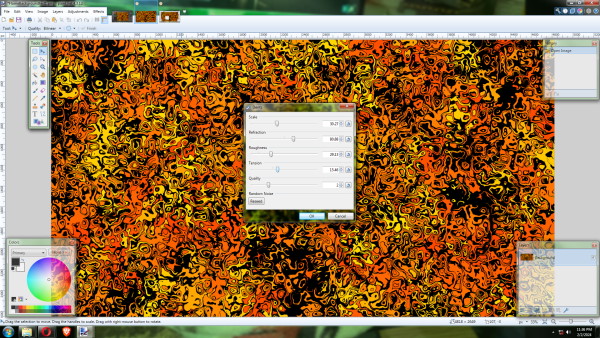
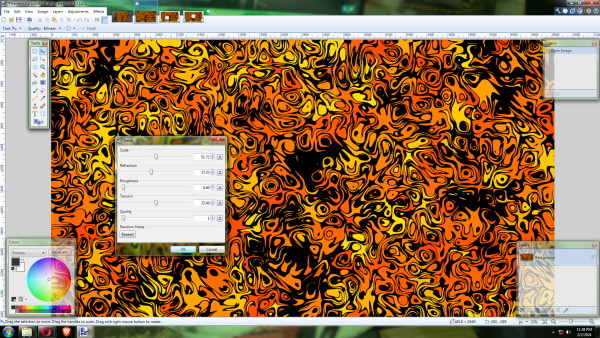
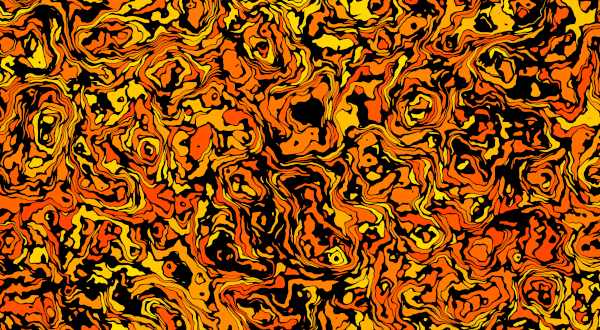
I started testing out brushes and no matter how I tried I couldn't get the clean distort I needed. Even when resized the brush would leave this odd tearing at the edge. So I started tinkering with filters. Noise, Twirl, and Blur didn't work, but Dents showed the most promise...
It wasn't until Cassie had already uploaded the image to the site and had it printed and shipped that I realized I COMPLETELY forgot to add the spines on the back of the dragon's neck. Oh well. It doesn't have to be a perfect 1:1 recreation, it's strictly for my own use, and if the original tapestry finally does fall to pieces I can still add the spines and have it custom printed somewhere as a replacement. It's close enough to pay homage to the original but different enough that I know its my own creation.
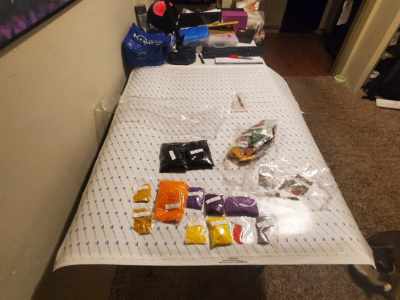
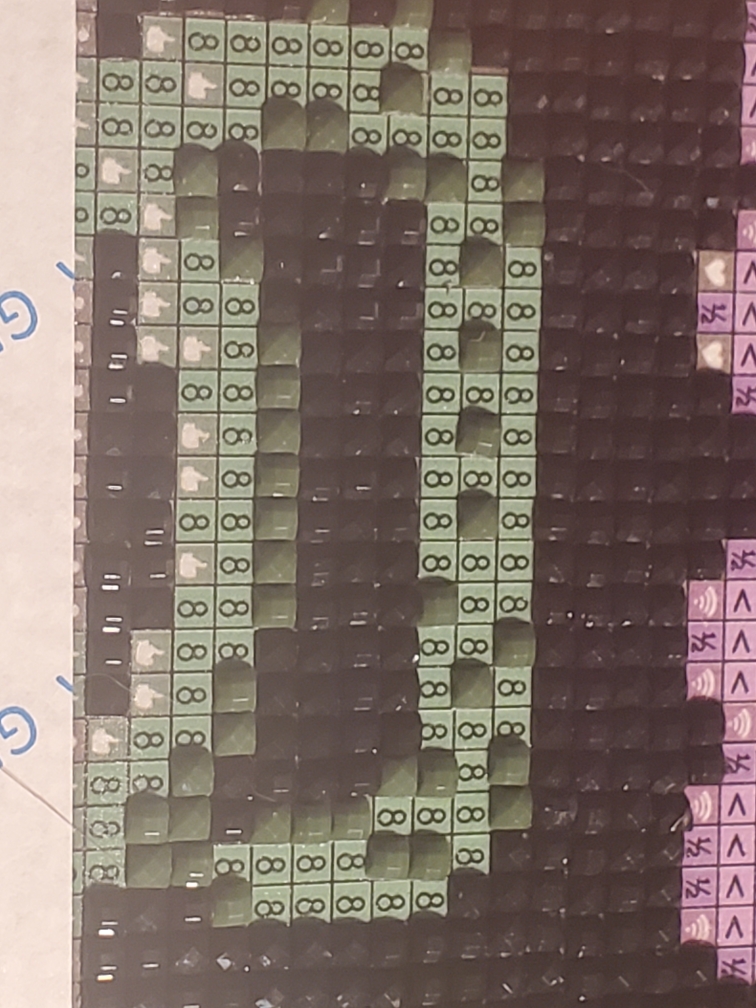
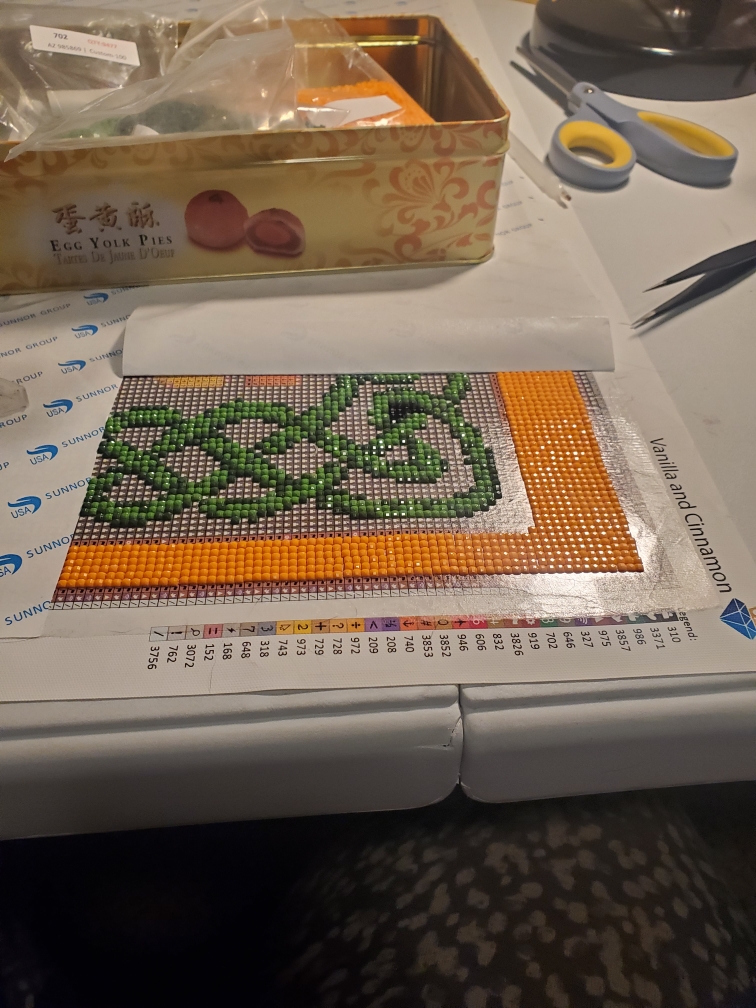
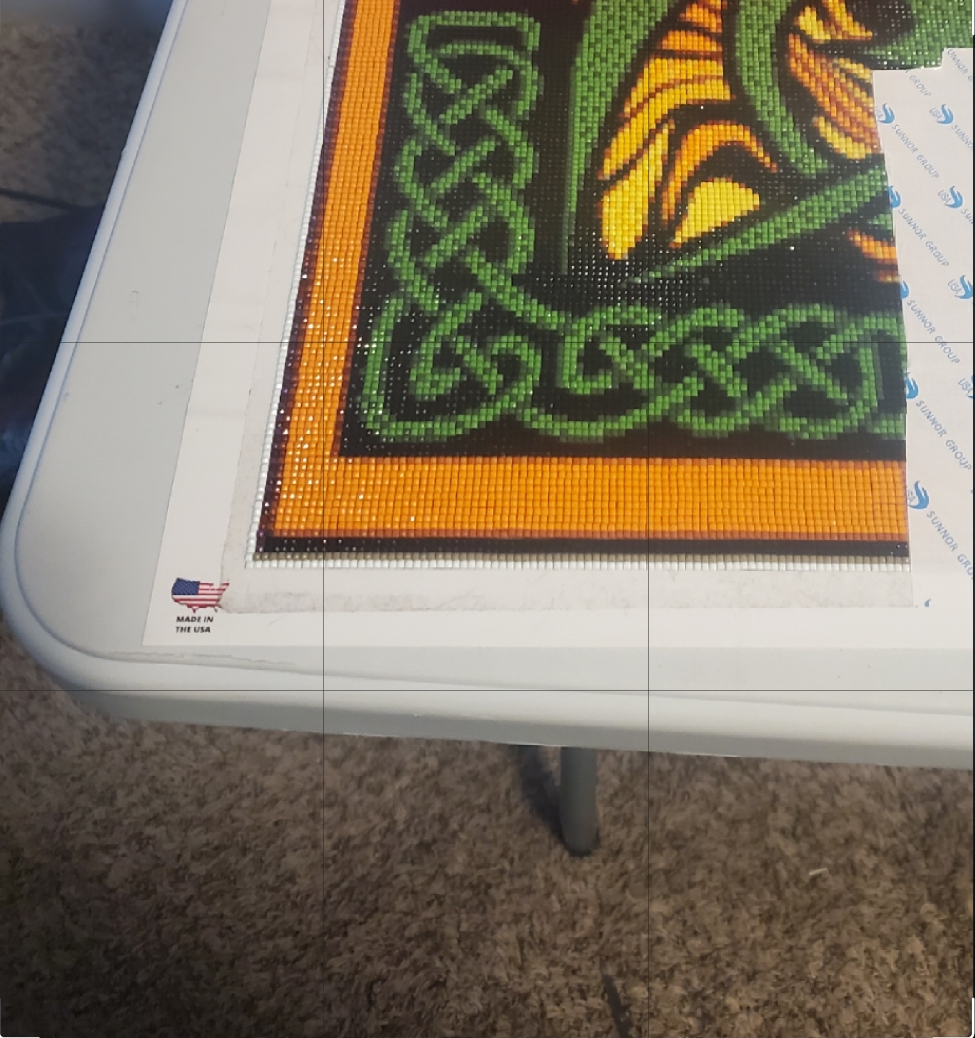
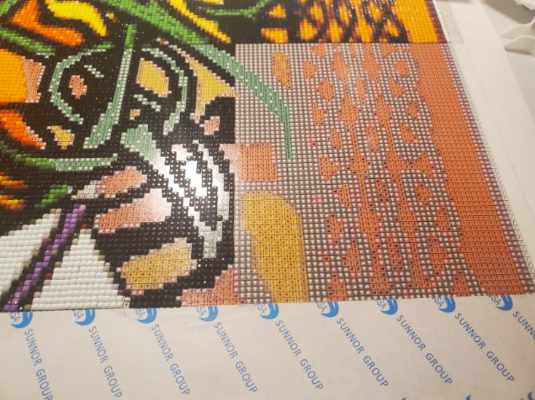
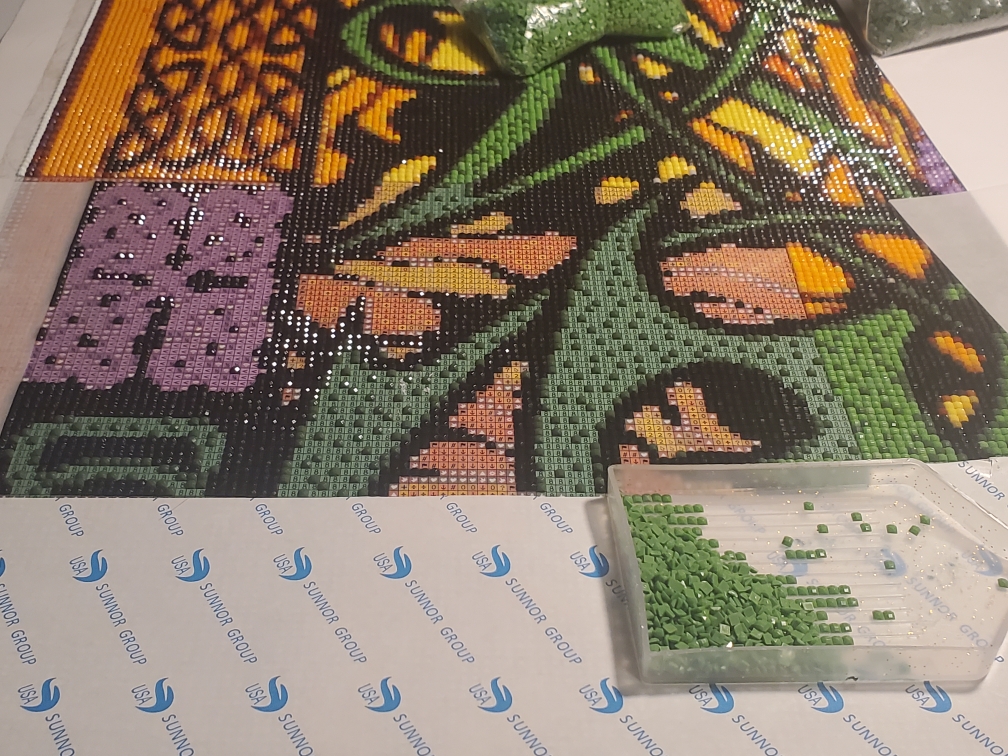
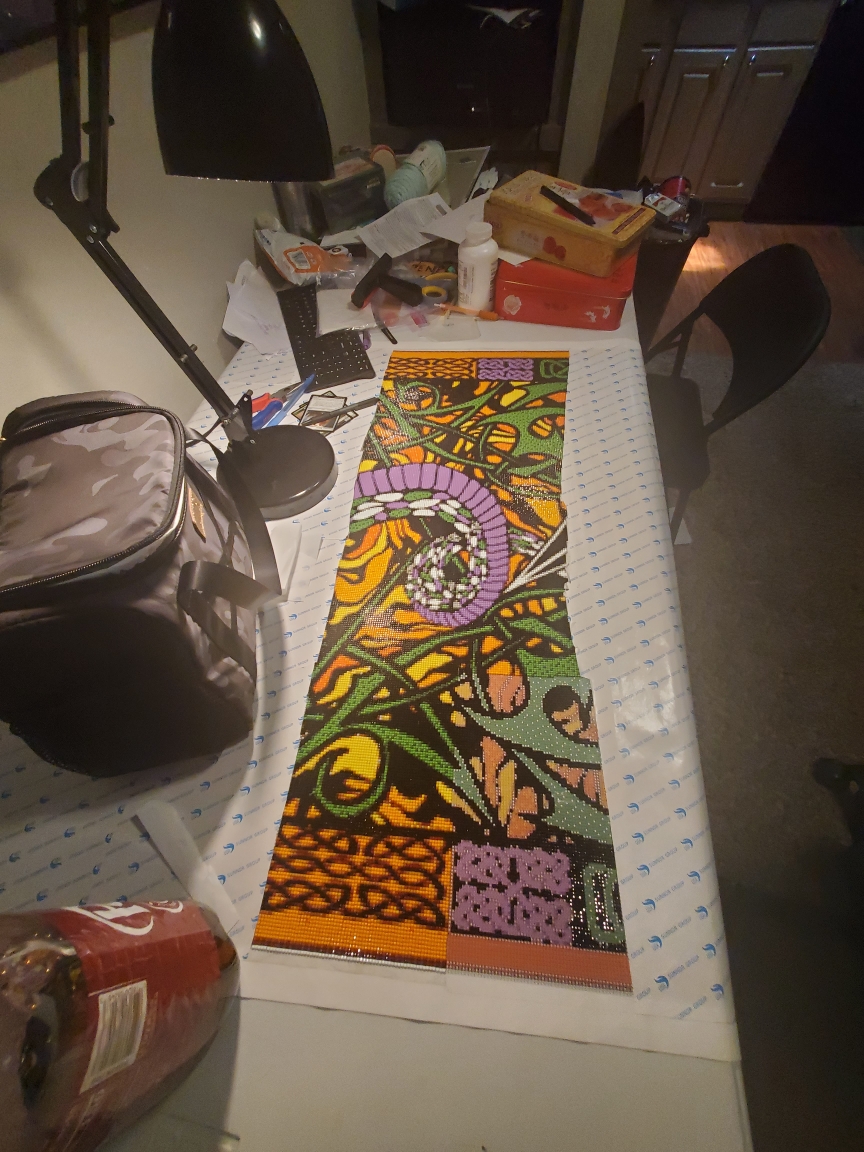
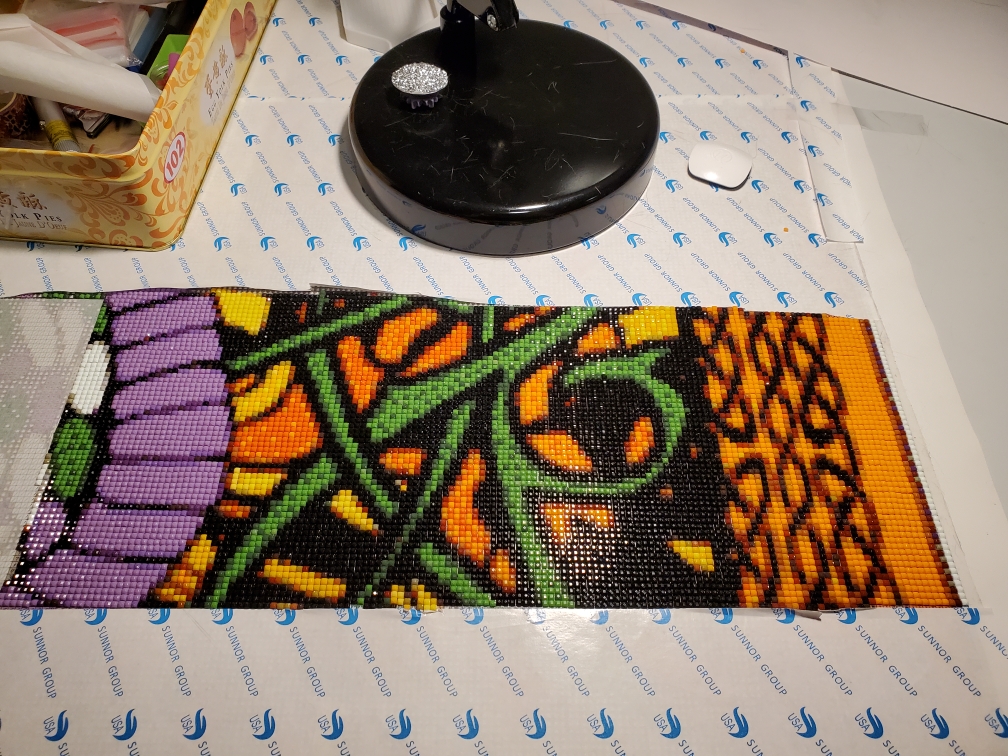
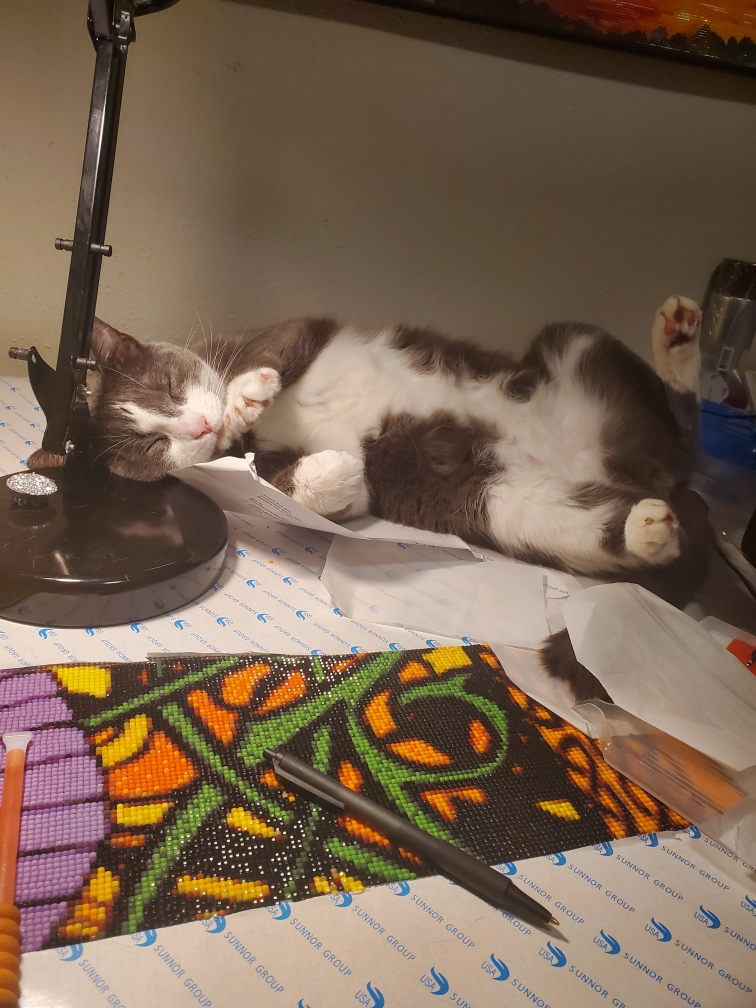
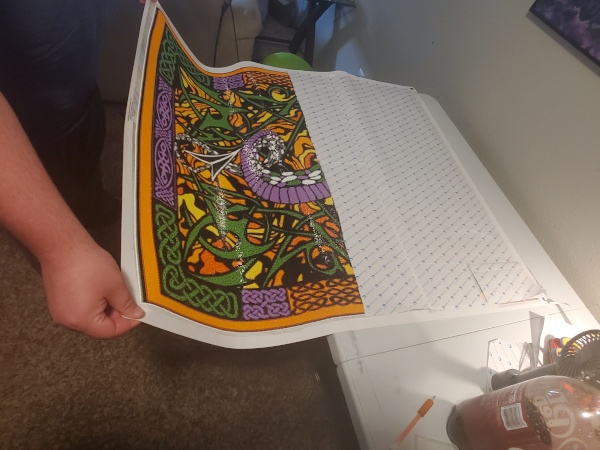
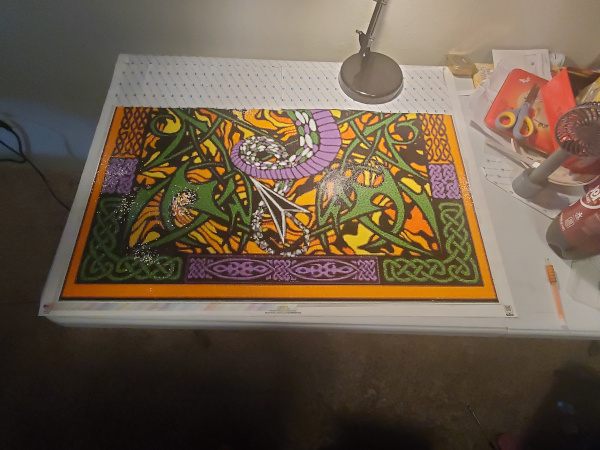
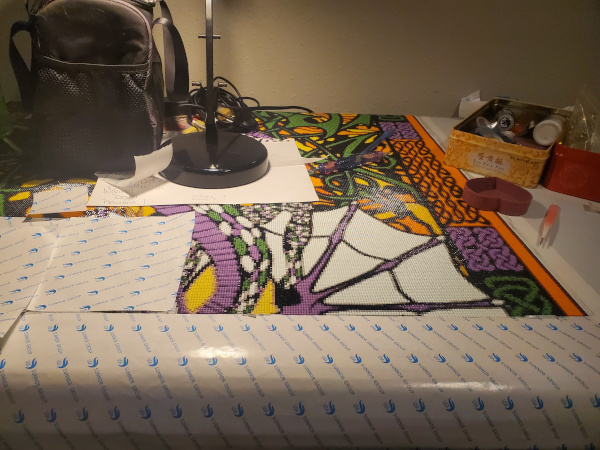
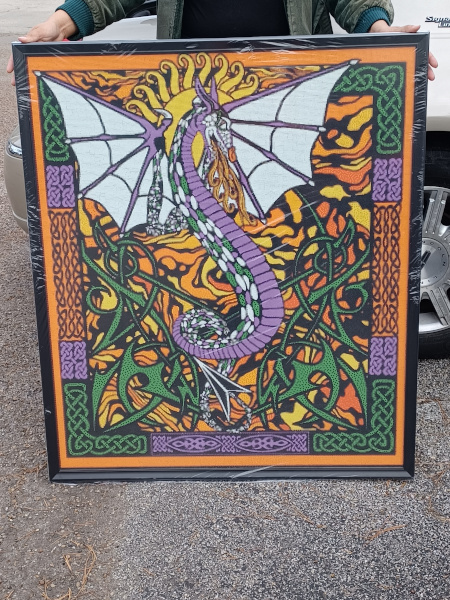
From here I turn things over to my friend Cassie. The print would be MASSIVE compared to the previous ones she'd done. This next stage takes place over the course of several weeks as it took roughly three months from start to finish working on intermittently. I erroneously thought diamond painters used tweezers to place each and every stone individually. Not the case. There are these nifty little multitools that can grab up entire rows of stones to stamp for fields of solid colors to speed things up SIGNIFICANTLY. The map is coated with adhesive to snugly secure the stones in place.
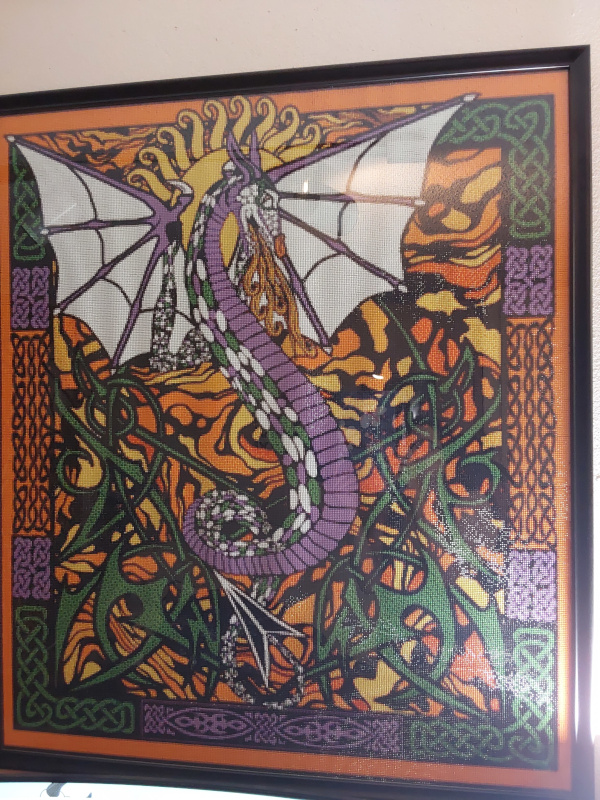
Because of the size I had to get it custom framed at the local Hobby Lobby. It's pretty heavy! Even with the glue I didn't want to risk nosy cats pulling stones off the canvas, so I opted for the glass cover. As it is they've shredded the corners of my Chuck Norris Facts posters...
And now after many months of hard work it is proudly displayed on my wall above my workstation!
So what comes next in our adventures in diamond painting? As Cassie loves to affectionately nickname him...
50 Shades of White...
With diamond painting, a clear, crisp image is needed for a custom print. You submit an image to a site and they create a pixel color map so the artisan knows what stones go where, but the only image I could find came from a tiny thumbnail from a defunct page listing.
The Background
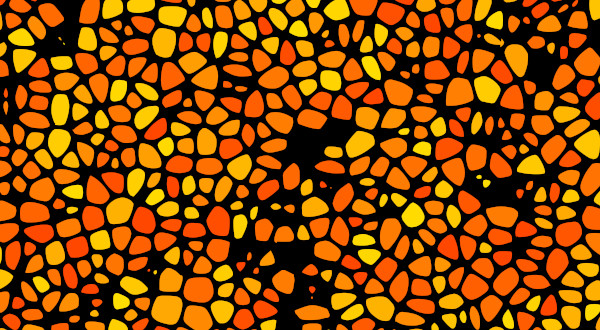
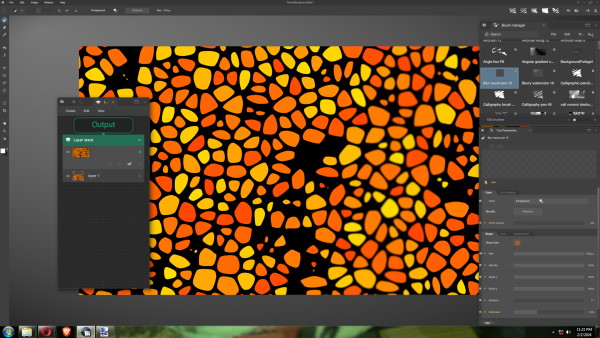
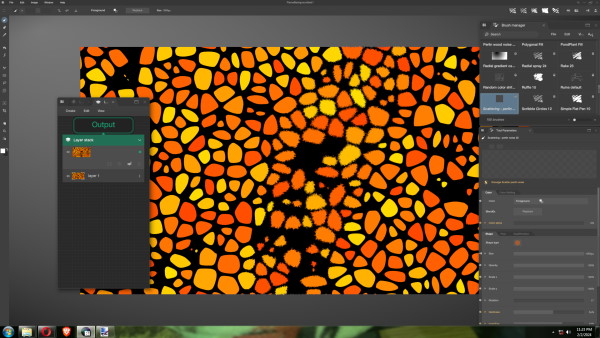
I've mentioned how much I like using BlackInk. In addition to its many versatile brushes it has a number of fill effects beyond just gradients. One fill in particular I figured I could use to create the kind of stained-glass look of the flames, because trying to draw each swirl by hand would just be insanity. I started out with Voronoi Cell Trebeculum with black border and yellow, orange, and red-orange for the color gradient. Off to a good start.
The Border
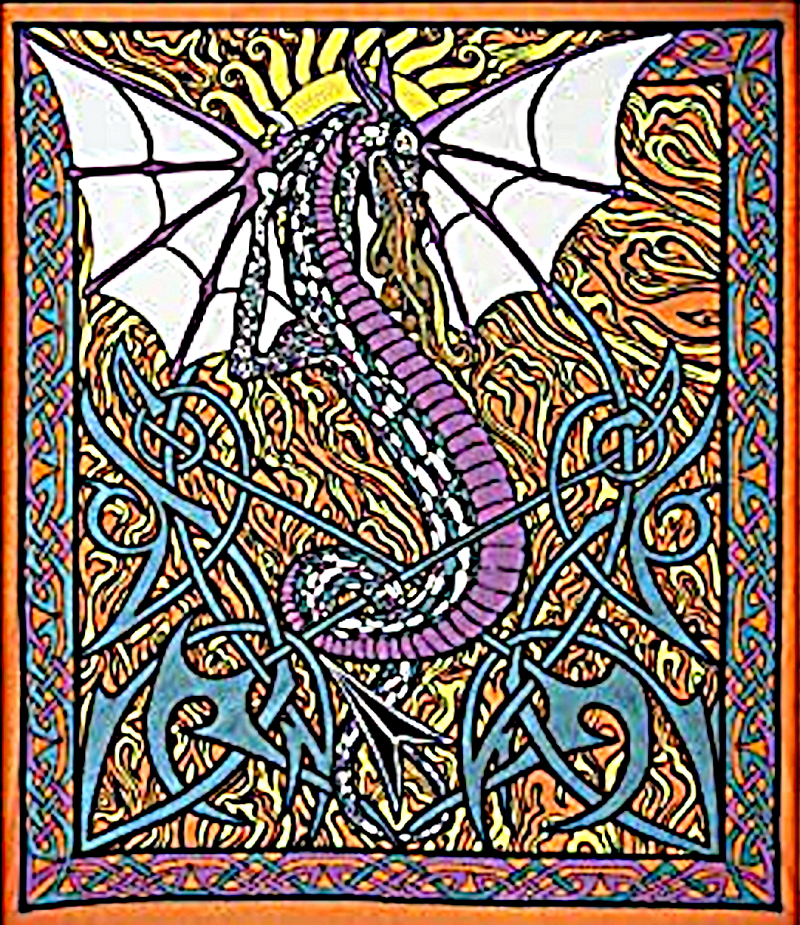
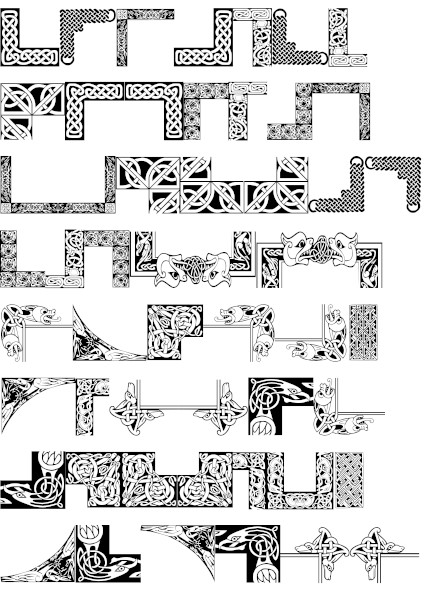
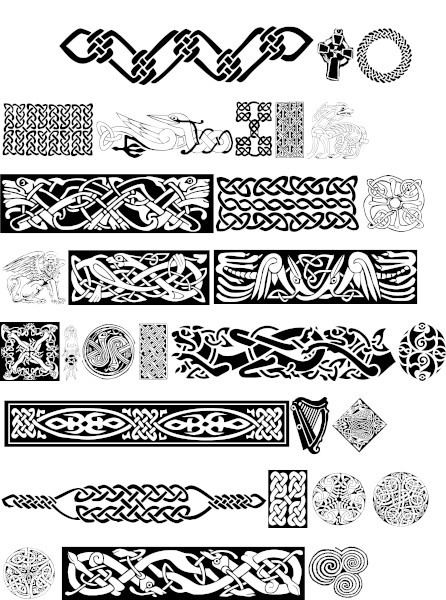
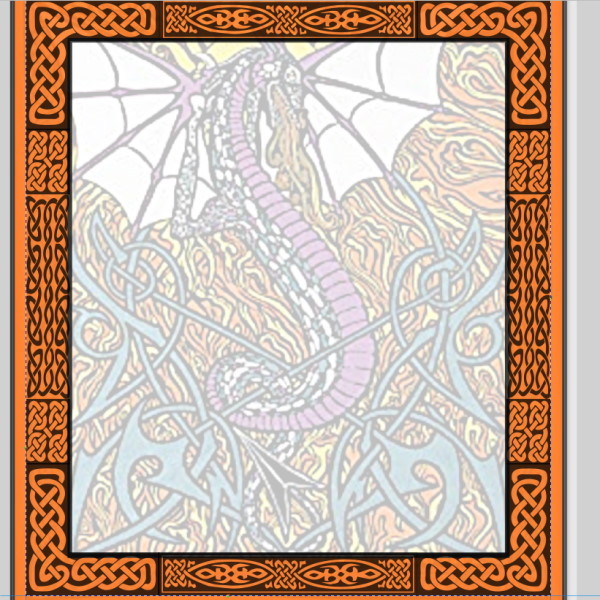
On to the next part and my trusted friend Inkscape. While Inkscape has a 'Celtic knot' path effect, it doesn't quite work the way I envisioned, and as with the background, drawing each and every part of the border would just drive me nuts. So I took a bit of a shortcut. I have these old fonts I got years and years ago: Celtic Patterns and Celtic Frames.After going through and picking which ones I thought would look best, I vector-bashed a little frame together and left a large orange outer border to match the original tapestry. Voila!
The Vines
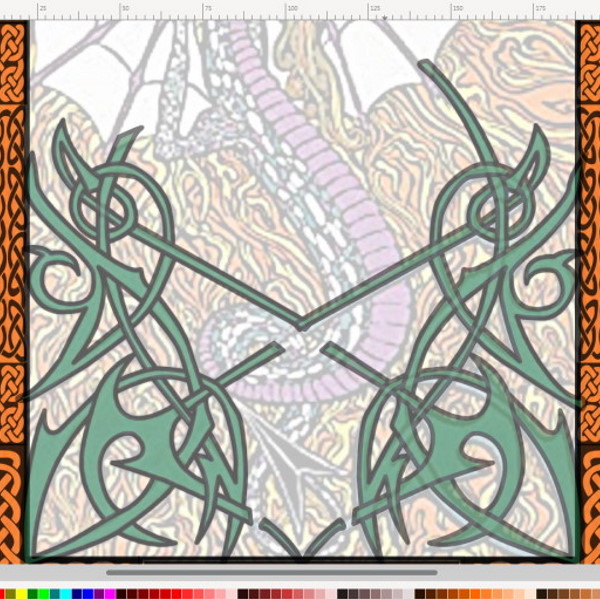
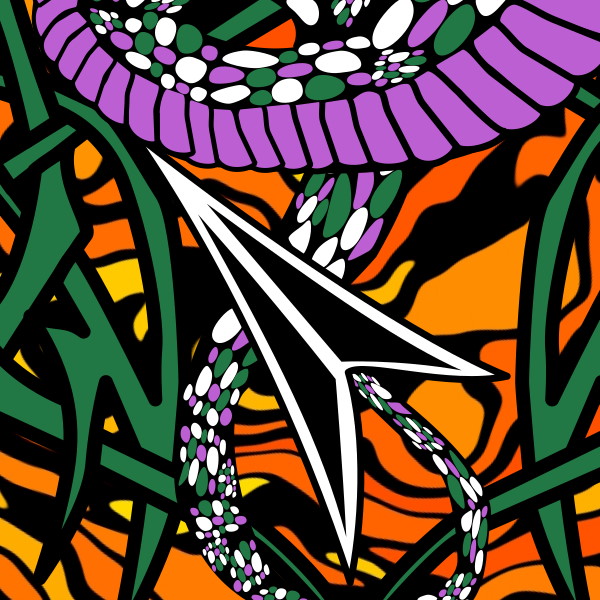
Again the Celtic Knot path effect didn't quite work so I drew half of the vine and tucked in some of the lines to hide overlap then Ctrl+D to duplicate and mirror it for the other side. Because it kind of goes through the dragon's tail in the original I had to split part of it into sections and move them accordingly.The Sun
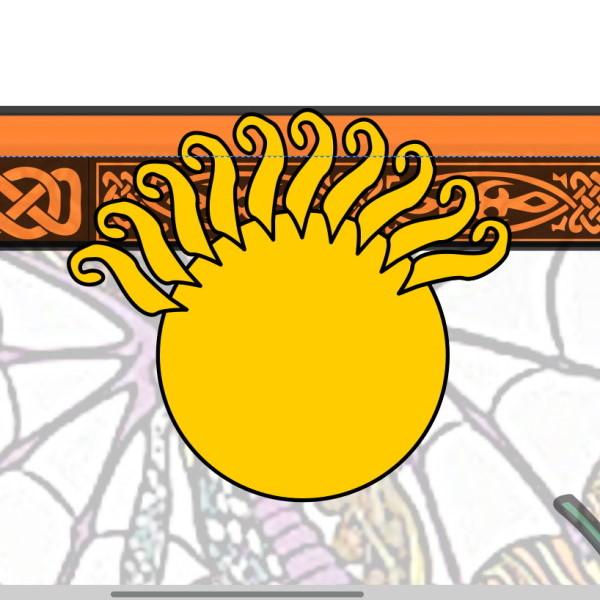
Because you only see a portion of it I made a simple circle then created a curve and moved the rotation point to the center of the circle. Using Ctrl+D I duplicated and stamped it along the upper edge to recreate the original pattern.The Dragon
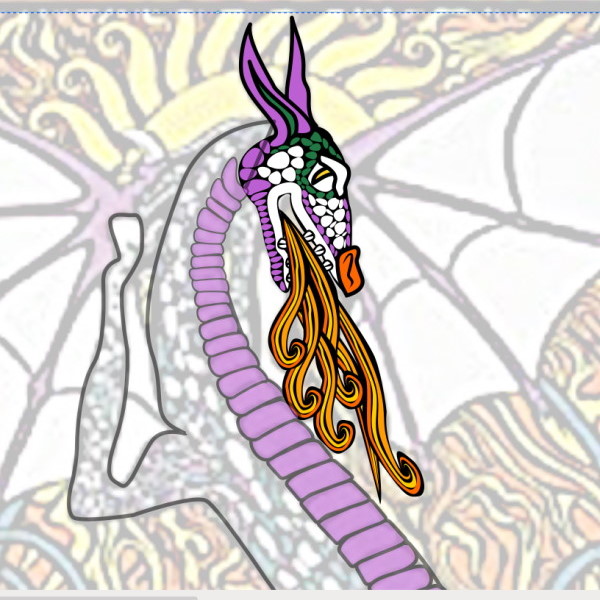
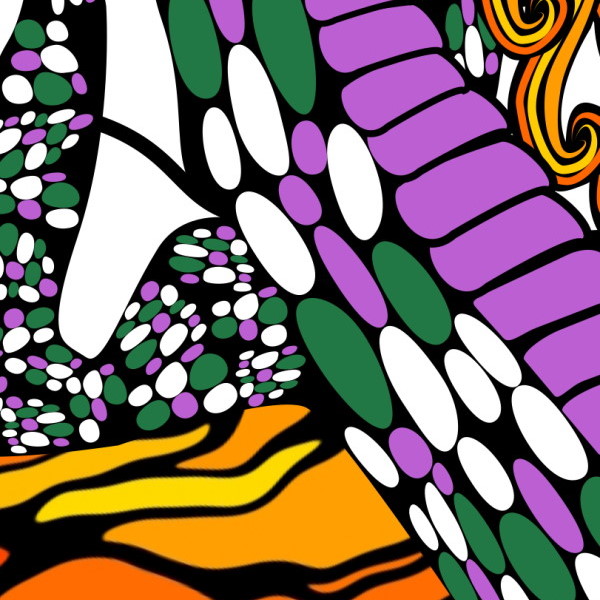
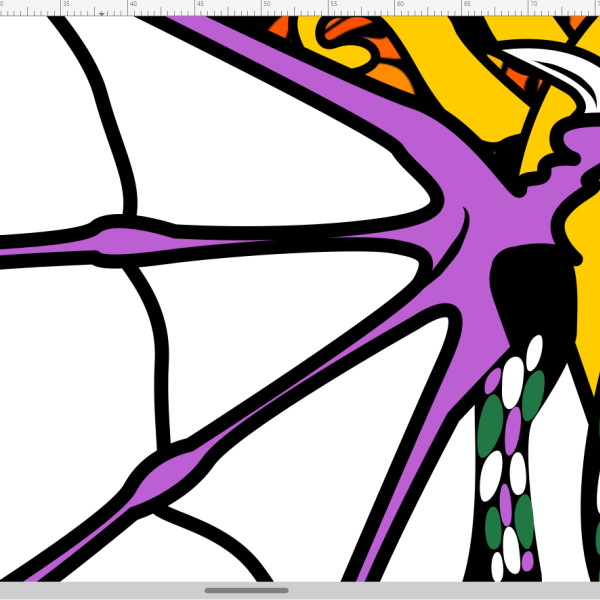
Power Stroke really proved its worth in places like the nose and teeth and the flames are entirely Power Stroke duplicated, stamped, scaled, and skewed. Because this is primarily for the diamond painting I didn't want to drive myself nuts trying to match each and every scale, so I created a small patch of circles in white, purple, and green, skewed and scaled, then duplicated and stamped them along the body from neck to tail. The scales along the tummy required some tweaking with the node tool even with stamping along the body. The wings I made one then duplicated and mirrored for the other side.Everything Coming Together
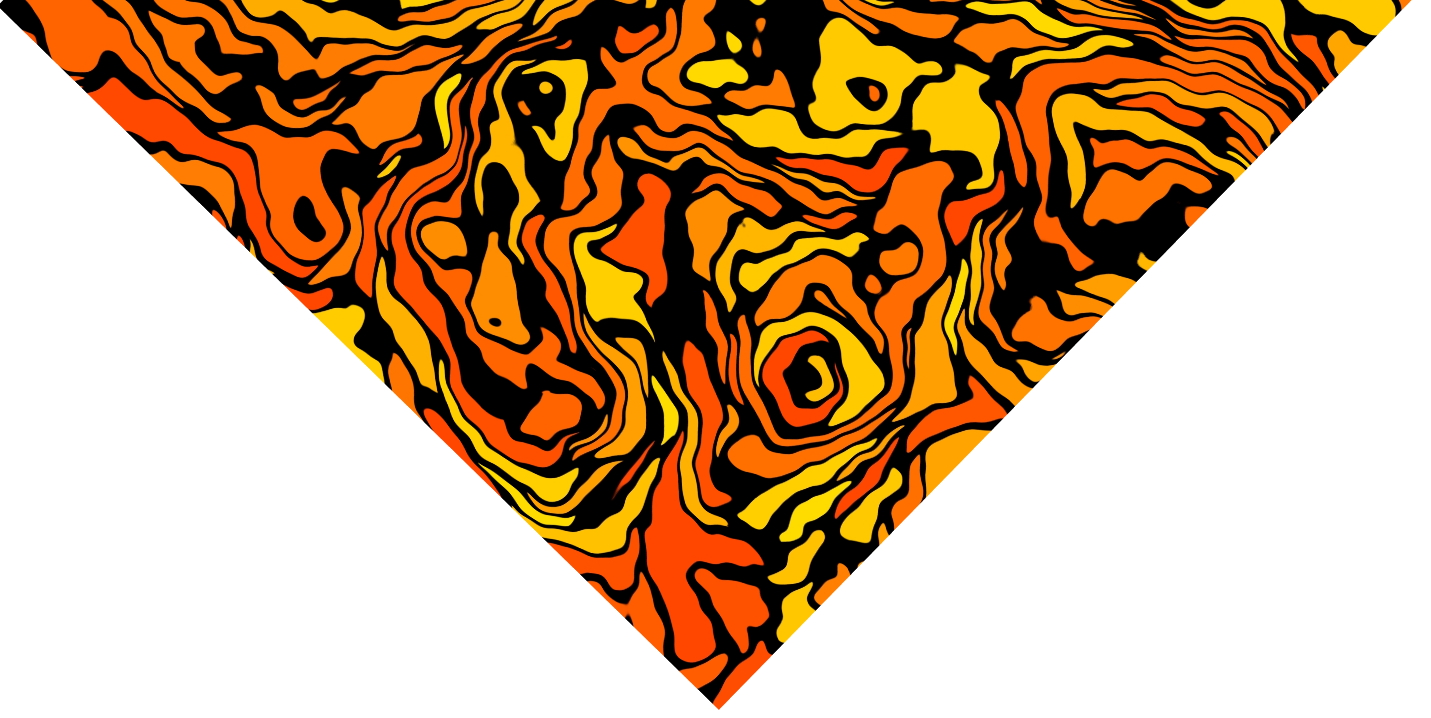
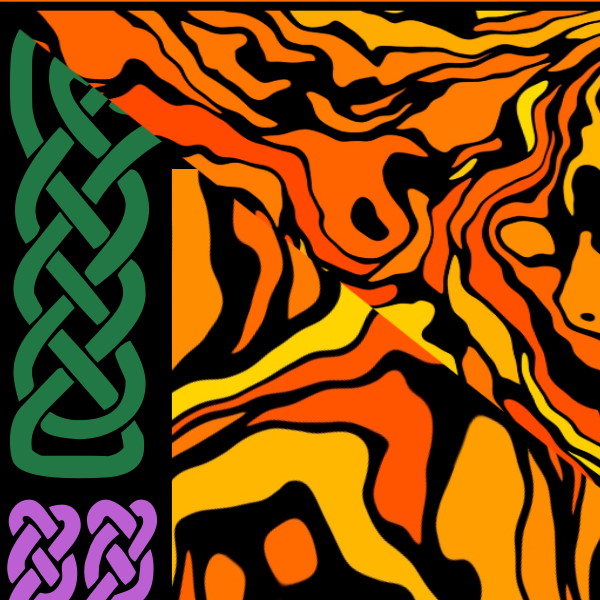
Towards the end I realized I put all this effort into the upper border only to remember part of the flames covers the top. I took the background I made, cropped out a triangle-shaped section and saved it as a gif for transparency then imported it as a separate layer to cover the top between the wings. I added some color in separate blocks beneath the border knots to make them stand out more and add color to the edge.
The Diamond Painting
All artwork used is self-made and belongs to me unless otherwise stated, such as kitbashes and commissions. Age of Defiance does not and will not use or feature RW/YST original artwork out of consideration for the OAS creators



I adore detailed art process articles like this! The end result is beautiful.