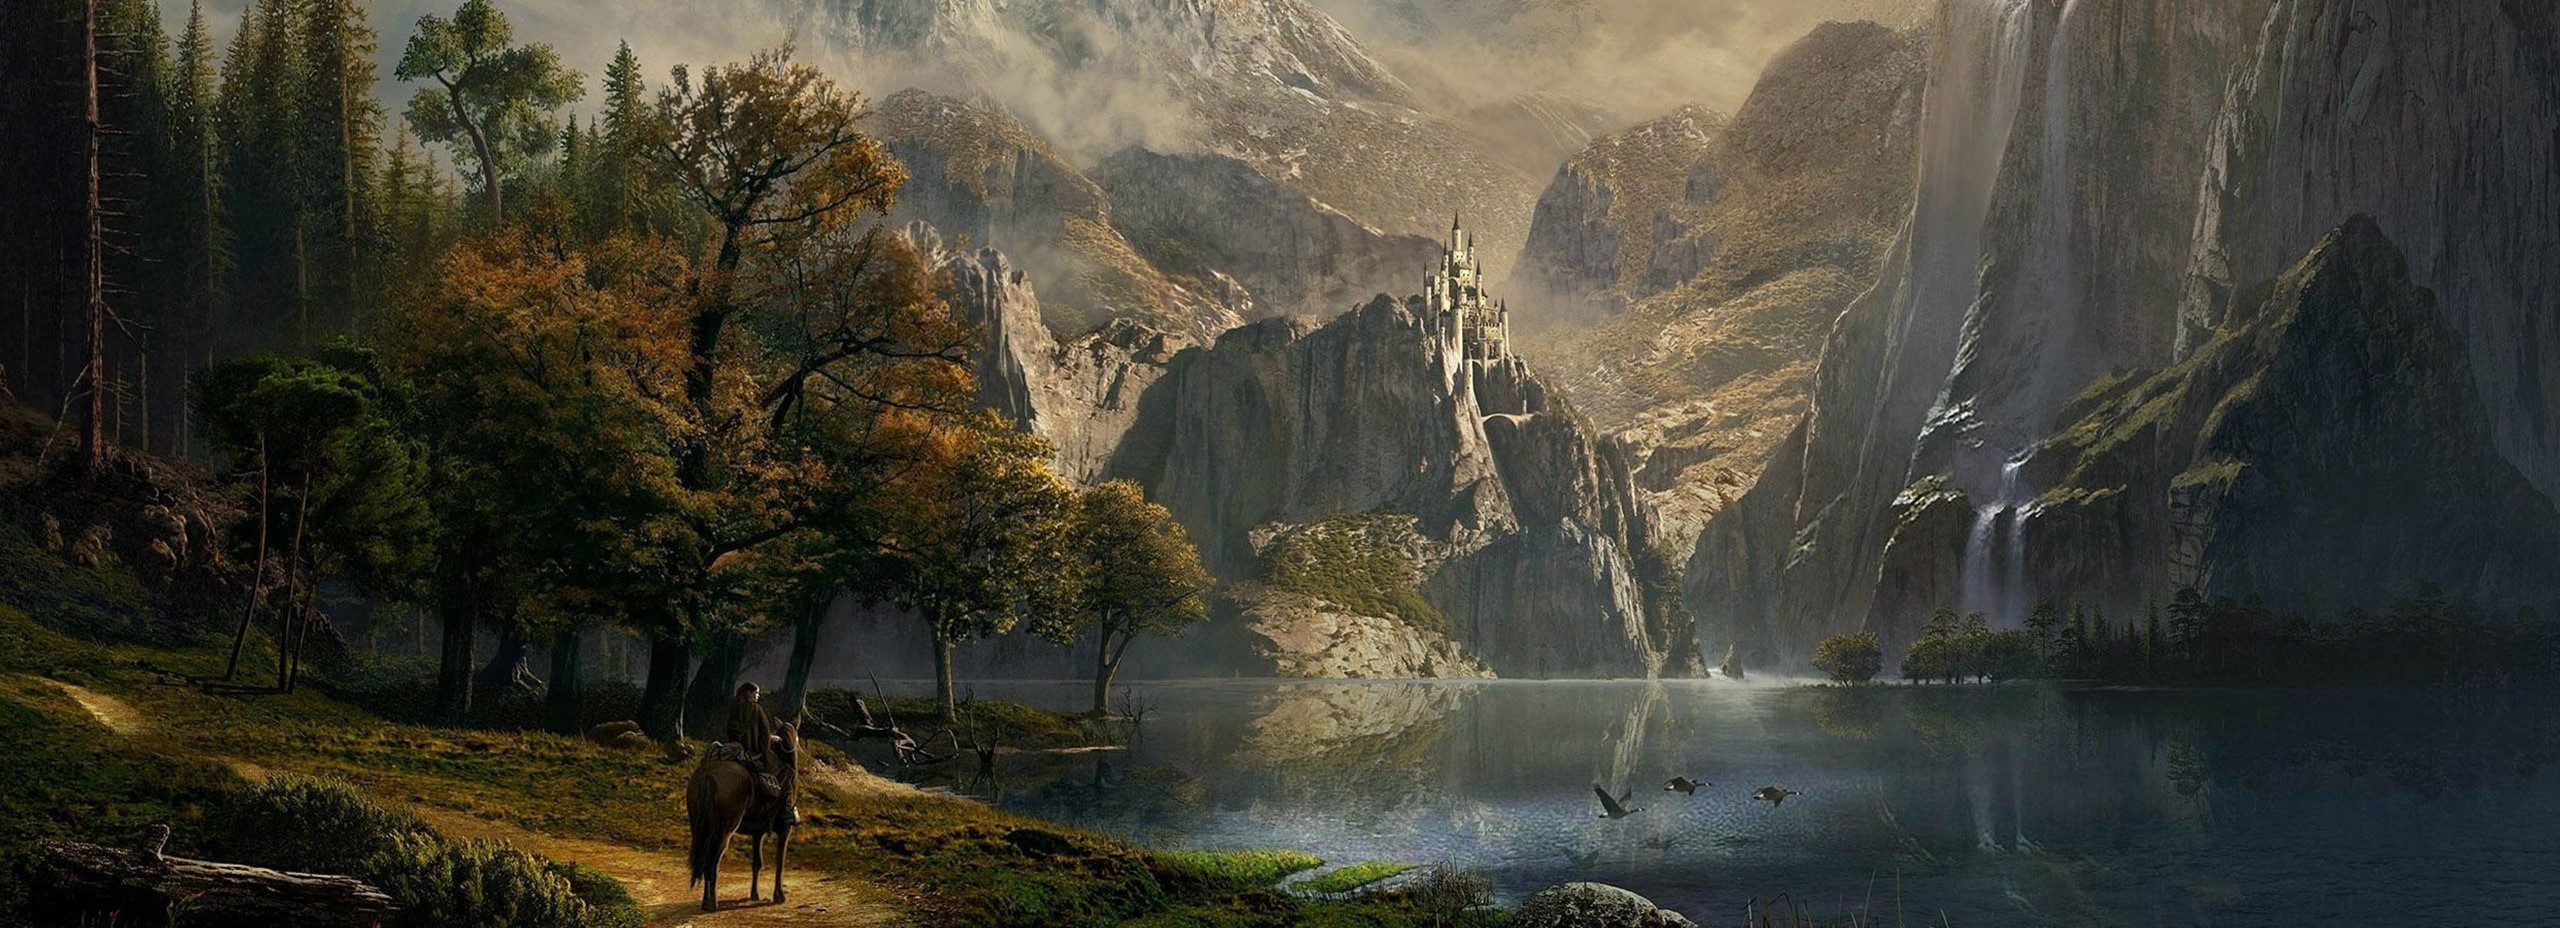
Overview
This barrow lies in a thirty-foot-high hill, its top too flat to be a natural occurrence. Jutting from the grassy hilltop is a row of ten-foot-tall, bone-white rocks that arc toward the stormy sky like outstretched talons.
Lady Tanamere Alagondar was a royal noble of
Neverwinter more than a century ago. Along with two parties of adventurers, she fought and killed Azdraka, a
green dragon that had long terrorized the High Road. Lady Alagondar died in the battle and was laid to rest beneath a barrow near where the
dragon fell. The remains of her fallen compatriots and the corpse of Azdraka were sealed in the barrow with her, in accordance with Lady Alagondar’s dying wishes.
Anyone who climbs to the top of the barrow and surveys it notices its distinctive dragon-like shape with a successful DC 10 Wisdom (Insight) check. The pale rocks resemble spikes protruding from the dragon’s back.
At night, the
will-o’-wisps in area D2 emerge from the hill using their Incorporeal Movement and float above the barrow, hoping to attract prey with their lights. If they detect creatures nearby, the will-o’-wisps turn invisible and withdraw into the barrow.
Catacombs Features
A series of chambers and tunnels at ground level form the catacombs beneath the barrow mound. They reek of damp earth and stale, deathly air.
Ceilings
Ceilings throughout are 8 feet high and flat.
Earthen Construction
All tunnels and rooms have walls, floors, and roofs made of packed earth.
Light
There is no light within the barrow. Adventurers require darkvision or their own light sources to see inside.
Sarcophagi
The sarcophagi found throughout the catacombs are carved from solid blocks of granite and sealed with heavy granite lids. The seals are airtight. Lifting a lid requires a successful DC 20 Strength (Athletics) check. Each lid is a Medium object with AC 17, 12 hit points, and immunity to poison and psychic damage.
Barrow Locations
D1. Secret Entrance
One of the white rocks atop the hill acts as a stone plug embedded in the earth. Anyone searching the hilltop can spot an opening beneath the base of the rock with a successful DC 10 Wisdom (Perception) check. By lashing ropes around the top of the rock, adventurers can topple it with a successful DC 19 Strength (Athletics) check. A
knock spell also causes it to topple over. The opening beneath the rock reveals a 2-foot-wide spiral staircase with flagstone steps, descending 30 feet to area D2.
D2. Will-o'-Wisps
The tunnels around the spiral staircase are haunted by three
will-o’-wisps. The wisps are invisible until they hear intruders coming down the stairs, whereupon they illuminate and move to the far side of the three concealed pit traps (area D3), hoping to lure intruders to their doom. Each wisp has its own pit and attacks anyone who falls into it. A wisp reduced to 7 hit points or fewer turns invisible on its next turn and flees to hide until adventurers leave the barrow.
D3. Concealed Pit Traps
Each of these pits is 5 feet wide, 10 feet deep, and dug out of the earth. Rows of rusty swords are embedded into the floor of each pit, whose tops are covered by rotted wooden planks hidden under a thin layer of earth. A creature using a pole or similar tool to prod ahead detects the pit with a successful DC 10 Wisdom (Perception) check.
Any creature that steps onto a pit falls into it, taking 1d6 bludgeoning damage and impaling itself on 1d4 swords, each of which deals 1d6 piercing damage.
D4. Skeletal Surprise
The bones and
riding saddle of Lady Alagondar’s horse lie in the southern niche of this cavern. When a creature approaches within 5 feet of the bones, they knit together and rise as a
warhorse skeleton. It bonds with anyone who wants to ride it.
D5. Narrow Tunnel
This tunnel is only 2 feet wide. At the halfway point, a 5-foot-long pressure plate is hidden under a 2-inch-thick layer of earth. Anyone prodding ahead with a pole or similar tool can detect the plate with a successful DC 10 Wisdom (Perception) check. The first creature to step on the plate causes the walls of the tunnel to collapse inward, burying all creatures in the tunnel. A buried creature is blinded and restrained, has total cover against attacks, and begins to suffocate when it runs out of breath. Only a creature that is not trapped in the tunnel can clear away the collapse, using an action to open up the 5-foot-deep section of tunnel closest to it. A creature in that space is no longer buried.
D6. False Tomb
Two sealed stone sarcophagi rest in alcoves dug into the south wall here. Each sarcophagus releases a cloud of corrosive dust when opened, filling the 10-foot-by-10-foot area north of the sarcophagus. Any creature in the area must make a DC 15 Dexterity saving throw, taking 4d6 acid damage on a failed save, or half as much damage on a successful one. The cloud then disappears. The sarcophagi contain nothing of interest.
D7. Adventurers' Tomb
Four sarcophagi in alcoves contain the moldy bones of adventurers (a bard, a cleric, a fighter, and a wizard) who perished fighting Azdraka.
Sealed with the dead wizard in the southeast sarcophagus is a
necklace of fireballs and 30 gp.
D8. Dragon Slayer
Two sarcophagi in alcoves contain the moldy bones and rusty armor of Tanamere Alagondar and her faithful squire, but hold nothing of value. The area north of the sarcophagi has the bones of Azdraka, a Huge
dragon, embedded in its walls.
The dragon’s skull rests on the floor and has a Lady Alagondar’s
dragon slayer longsword set atop it. If the sword is taken, an
invisible stalker appears and attacks anyone in this area until the sword is put back, or until that guardian is destroyed.


Comments