

Phase 1 Summary
In the opening stages of the campaign, both sides vied for control of isolated, resource rich worlds. The loyalists managed to secure an early advantage, their raiding parties liberating large reserves of fuel from the ocean world of Kappa Mundi, while on the Agriworld of Hannigan’s Hope, Loyalist defenders kept the planets yearly harvest safe from traitor attacks. This defence came at great cost, with one of the largest tank battles of the campaign taking place, and much of the loyalist armour reserve being destroyed.
+++++++
Following the relief flotilla’s arrival in the cluster, and the traitor capture of Semita IV, a period of escalating skirmishes occurred centred around the Mundus and Hope systems. The flotilla managed to arrive in system much faster than the traitor intelligence predicted, thanks to the canny navigation of the Veduccti and Castanro rogue trader houses, who had plied the cluster is earlier years. This allowed the various loyalist fleet elements to steal the march from the traitors.
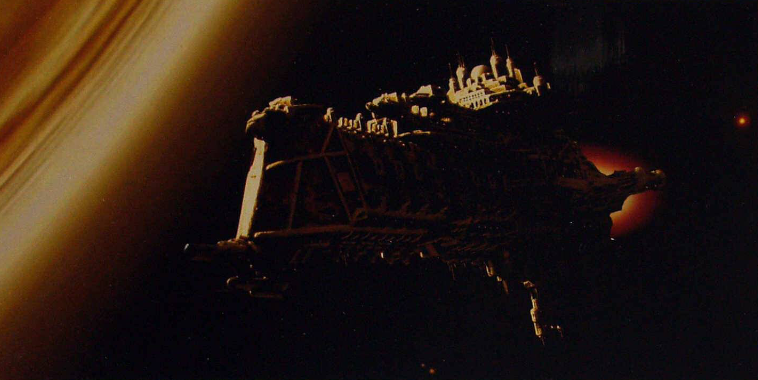
Glory of Chemos (Retrofited Lunar-Class Cruiser) approaches the Mundus system Mandeville point.
In the Mundus system, loyalist supply raids upon Kappa Mundi continued unabated for nearly a month, with the forces there able to extract a significant amount of fuel and promethium product from under the traitor noses. As more and more of the traitor vanguard made planet fall the ground and air engagements on Kappa intensified, with a number of derricks, rigs and processing facilities terminally damaged or destroyed outright during the fighting
In orbit, the arrival of significant capital and patrol vessels under the Command of Autus Glaw of the 8th Legion would signal the end of loyalist incursions. Convoy No.47 was caught and destroyed after a 2 day cat and mouse chase through the system's Kuiper Belt by Glaw and his predator fleets, this would be the last attempt made to salvage fuel from Kappa Mundi.
On Kappa itself, fighting would continue sporadically for the foreseeable as loyalists holdouts and infiltration teams went to ground on the various abandoned habitats and infrastructure, sabotaging fuel reserves and interdicting the occasional traitor flyer.
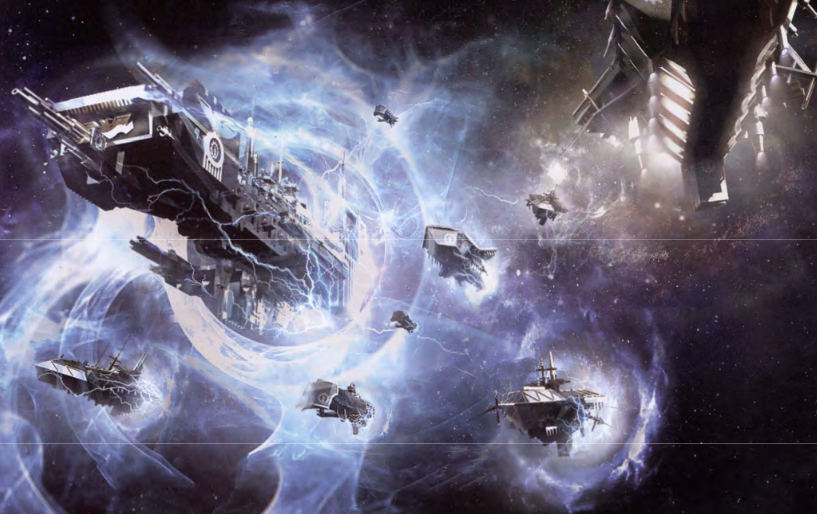
Unidentified vessels break warp at the edge of the Hope system
In the Trailwards Margins, what initially began as a series of punitive raids by the traitors developed into a wide flanking maneuver and would lead to the largest ground engagement of this early stage of the campaign.
Hannigan’s Hope, a vital agriworld in the cluster, was relatively isolated from the rest of the loyalist defensive positions and after a number of indecisive fleet engagements in high orbit, saw traitor ground commanders land larger and larger expeditionary forces on the planet.
Following a period of raiding and counter attack from the loyalists, the 4th legion intensified the amount of armour being deployed, hoping to force the loyalist tank reserves into a decisive battle, or risk losing the planet.
The southern punch, as it began to be called by traitor auxila, was broadly successful in bringing the loyalists to battle, with both sides taking heavy loses in running tank battles across the southern taiga. While the traitor attack was stalled before Moothaven could be taken, their wider objective of depleting loyalist tank reserves succeeded, with the Magi of Luthien-II-A projecting full recovery in the order of 5 terran years - time the loyalists clearly did not have.
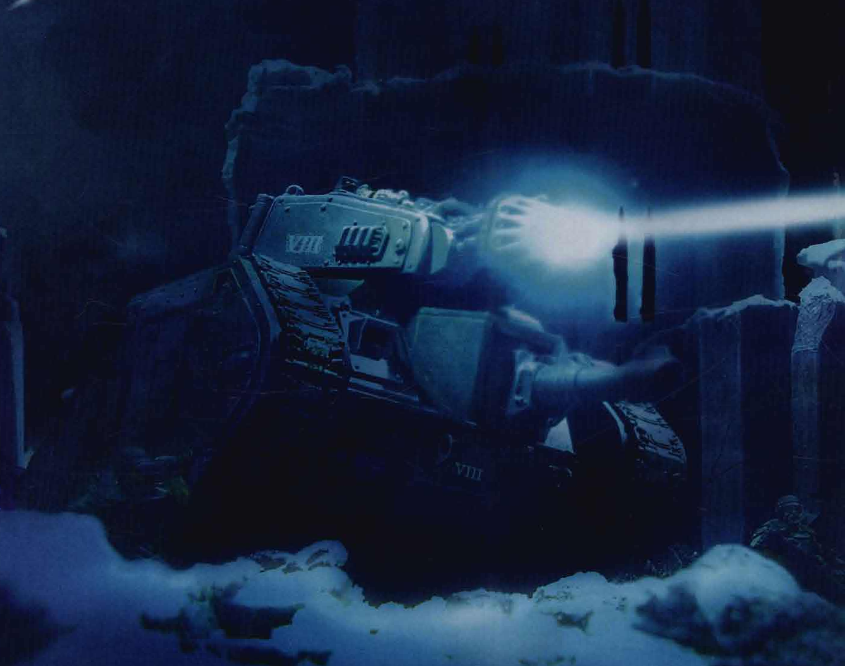
Loyalist PDF tank covering the retreat at Wheatmunster. Note the unseasonable snow caused by atmospheric contamination
Hannigan’s Hope suffered woefully as a result of these increasingly destructive engagements, with some estimates reporting 38% of all farming production as seriously degraded or worse. As a result of selective lance strikes, burning crops, battle debris and propellant discharge, a global cooling took place, with some areas experiencing a mild nuclear winter, likely for seasons to come.
However, the loyalists immediate aim - extracting and preserving as much of the yearly harvest as possible, was a qualified success. The rapid arrival of loyalist fleet elements meant that shipping loses on the long transit corewards were minimal, with the ground forces successfully extracting much of the harvest or otherwise preserving it intact on the surface.
As major fighting continued on Hannigan’s Hope, the warfront moved closer and closer to the system capital of Stroi-III, which would be the next decisive engagement. Meanwhile, hostilities reignited behind traitor lines, complicating their invasion efforts.
For further reading on this phase of the conflict -
Kappa Mundi, Phase 1
Hannigan's Hope, Phase 1
‘Alert! Alert! Structural integrity compromised. All crew to the saviour pods! - Automated distress call, Refinery Complex 29
‘This is transport 0-8-4, we took a hit to the aft engine. Crew are bailing now. No way this bird is going to ditch, she’s too heavy. For the Emperor!’ - Last transmission, orbital 0-8-4, prior to suicide attack against traitor AA batteries
‘Command, Command, come in. This is cross-roads Hotel-4-5, we need support. We’ve lost 14 hulls so far, no sign of them stopping. We’ve got our backs to the canals, we need reinforcement ASAP. - PDF transmission, 14th Hannigan’s mechanised.
‘They burnt the lot! Hectares of it, from down the vale right up to the manse. I saw them shoot the magistrate, the town council, everyone who didn’t run or hide. Where was the army?’ - Refugee account, Eastern Agri-Zone.

Comments