Timelines have a wide range of customization options to make your timeline look and behave exactly as you want it to! Use this page to learn about all these options.
Contents
Customizing your events
Here are the tools you can use to make your events look exactly how you want them to! All of these options are available from the event editing side panel; click on any event to open it!
Event importance
The event importance defines the label shape and its default color. These are the six available importance levels:


Note that if the event is in an era, it will take the color of that era rather than the event's importance. Don't worry if you don't like the default color; you can change it to a custom one!
Event type
The event type defines the icon shown in the event label. For example, Technological achievement shows a cog and Diplomatic action shows a scroll.
If you don't add a type, the default icon will be a star.
Did you know that you can filter by event importance and type? Learn how to navigate your timeline for more information!
Change the event's lane
At the top of the event editing panel, you'll see a horizontal scrolling bar. Drag it left or right to change the event's lane!
By default, all events are shown in the middle lane, on the timescale ribbon. However, using different lanes is a great way to display parallel events or even to group events by topic. For example, events on the right could be about a country in your world, while events on the left could be about a different country!
Customizing your eras
These are the options available to eras!
Era background
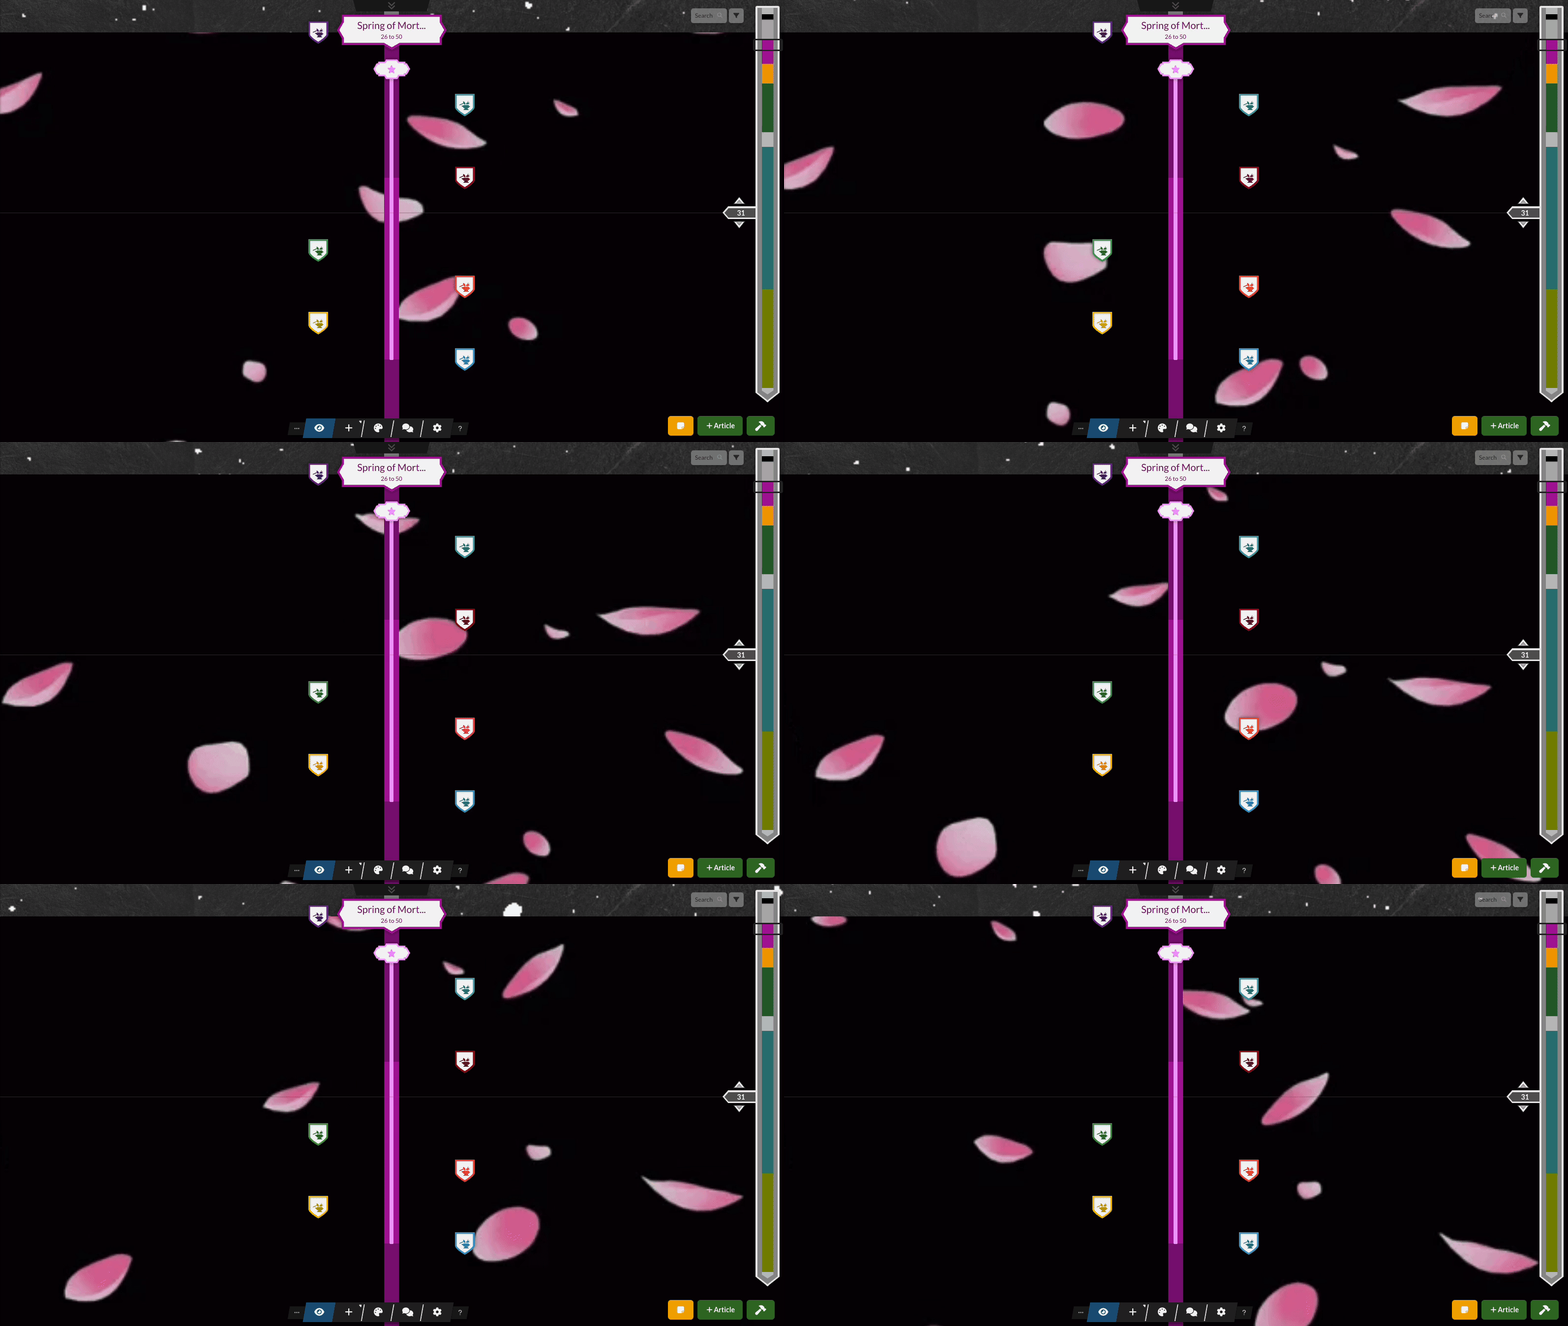
The era background will also be displayed on the timeline canvas under the events, so it's a great way to immerse your readers in the tone of that era! For example, if you're building an era with a lot of growing and rebuilding, you could use falling cherry blossom petals as the background:

As you can see, you can also upload animated GIFs to give your timelines more dynamic and fun to interact with! To change the background, mouse over the era header and click on the image button. Check the guide to timelines for more information about editing eras!
Common options for events and eras
Some customization options are available to both events and eras:
Customizing event and era colors
In events, colors automatically take the color defined by their importance level (see above). If you want to customize it, simply use the color picker to choose from a variety of colors:

To revert back to the default color, click the Make Default Color button.
Era colors work exactly the same way, except they are also applied to the timescale ribbon.
Pro-tip: If you can't find the exact shade you want in the color grid, you can fine tune it with RGB values or HEX codes at the bottom of color picker. If you're not familiar with these color systems, use this visual color picker and copy the HEX code into the event color grid.
Alternative display dates
Sometimes you don't want the precise date of your events or eras to show up. This might be because you want to give the year a more flavorful name, or simply because it's not relevant.
Use the Alternative display date field for both events and eras to replace how the date is displayed. They will still appear in the right place, and you will see their precise date (from the editing interface), but readers will only see whatever you write in that field!
Pro-tip: you can also use this as a way to add a subtitle to your era names! The following screenshots show the same era with different settings:

Advanced customization: using CSS
Available to all Guild subscription tiers. Upgrade here.
You can also use CSS to customize timeline's appearance at your heart's content! Open the Styling menu from the timeline toolbar to get started. The usual CSS rules still apply, so make sure you only modify elements under the user-css class.
If you don't know how CSS works, check out the Codex guides to CSS to get started!


