The Sky Vault Plot Outline
The most tragic thing to ever befall your people was the downfall of mine. Without a proper hand to guide you, your miserable, short lives, are wasted on the petty drudgeries of this ruined world. You need not worry any longer, i'm here to relieve you of the burdens of freedom that have plagued you for so long.
Summary
The Sky Vault is an adventure designed with Dungeons and Dragons 5E in mind and built to launch characters of level one to three on a quest for a missing castle. It assumes a more low-magic setting or at least isn't designed with magic as the sole solution to any of the conflicts. It can certainly be used in a magic setting of any type though.
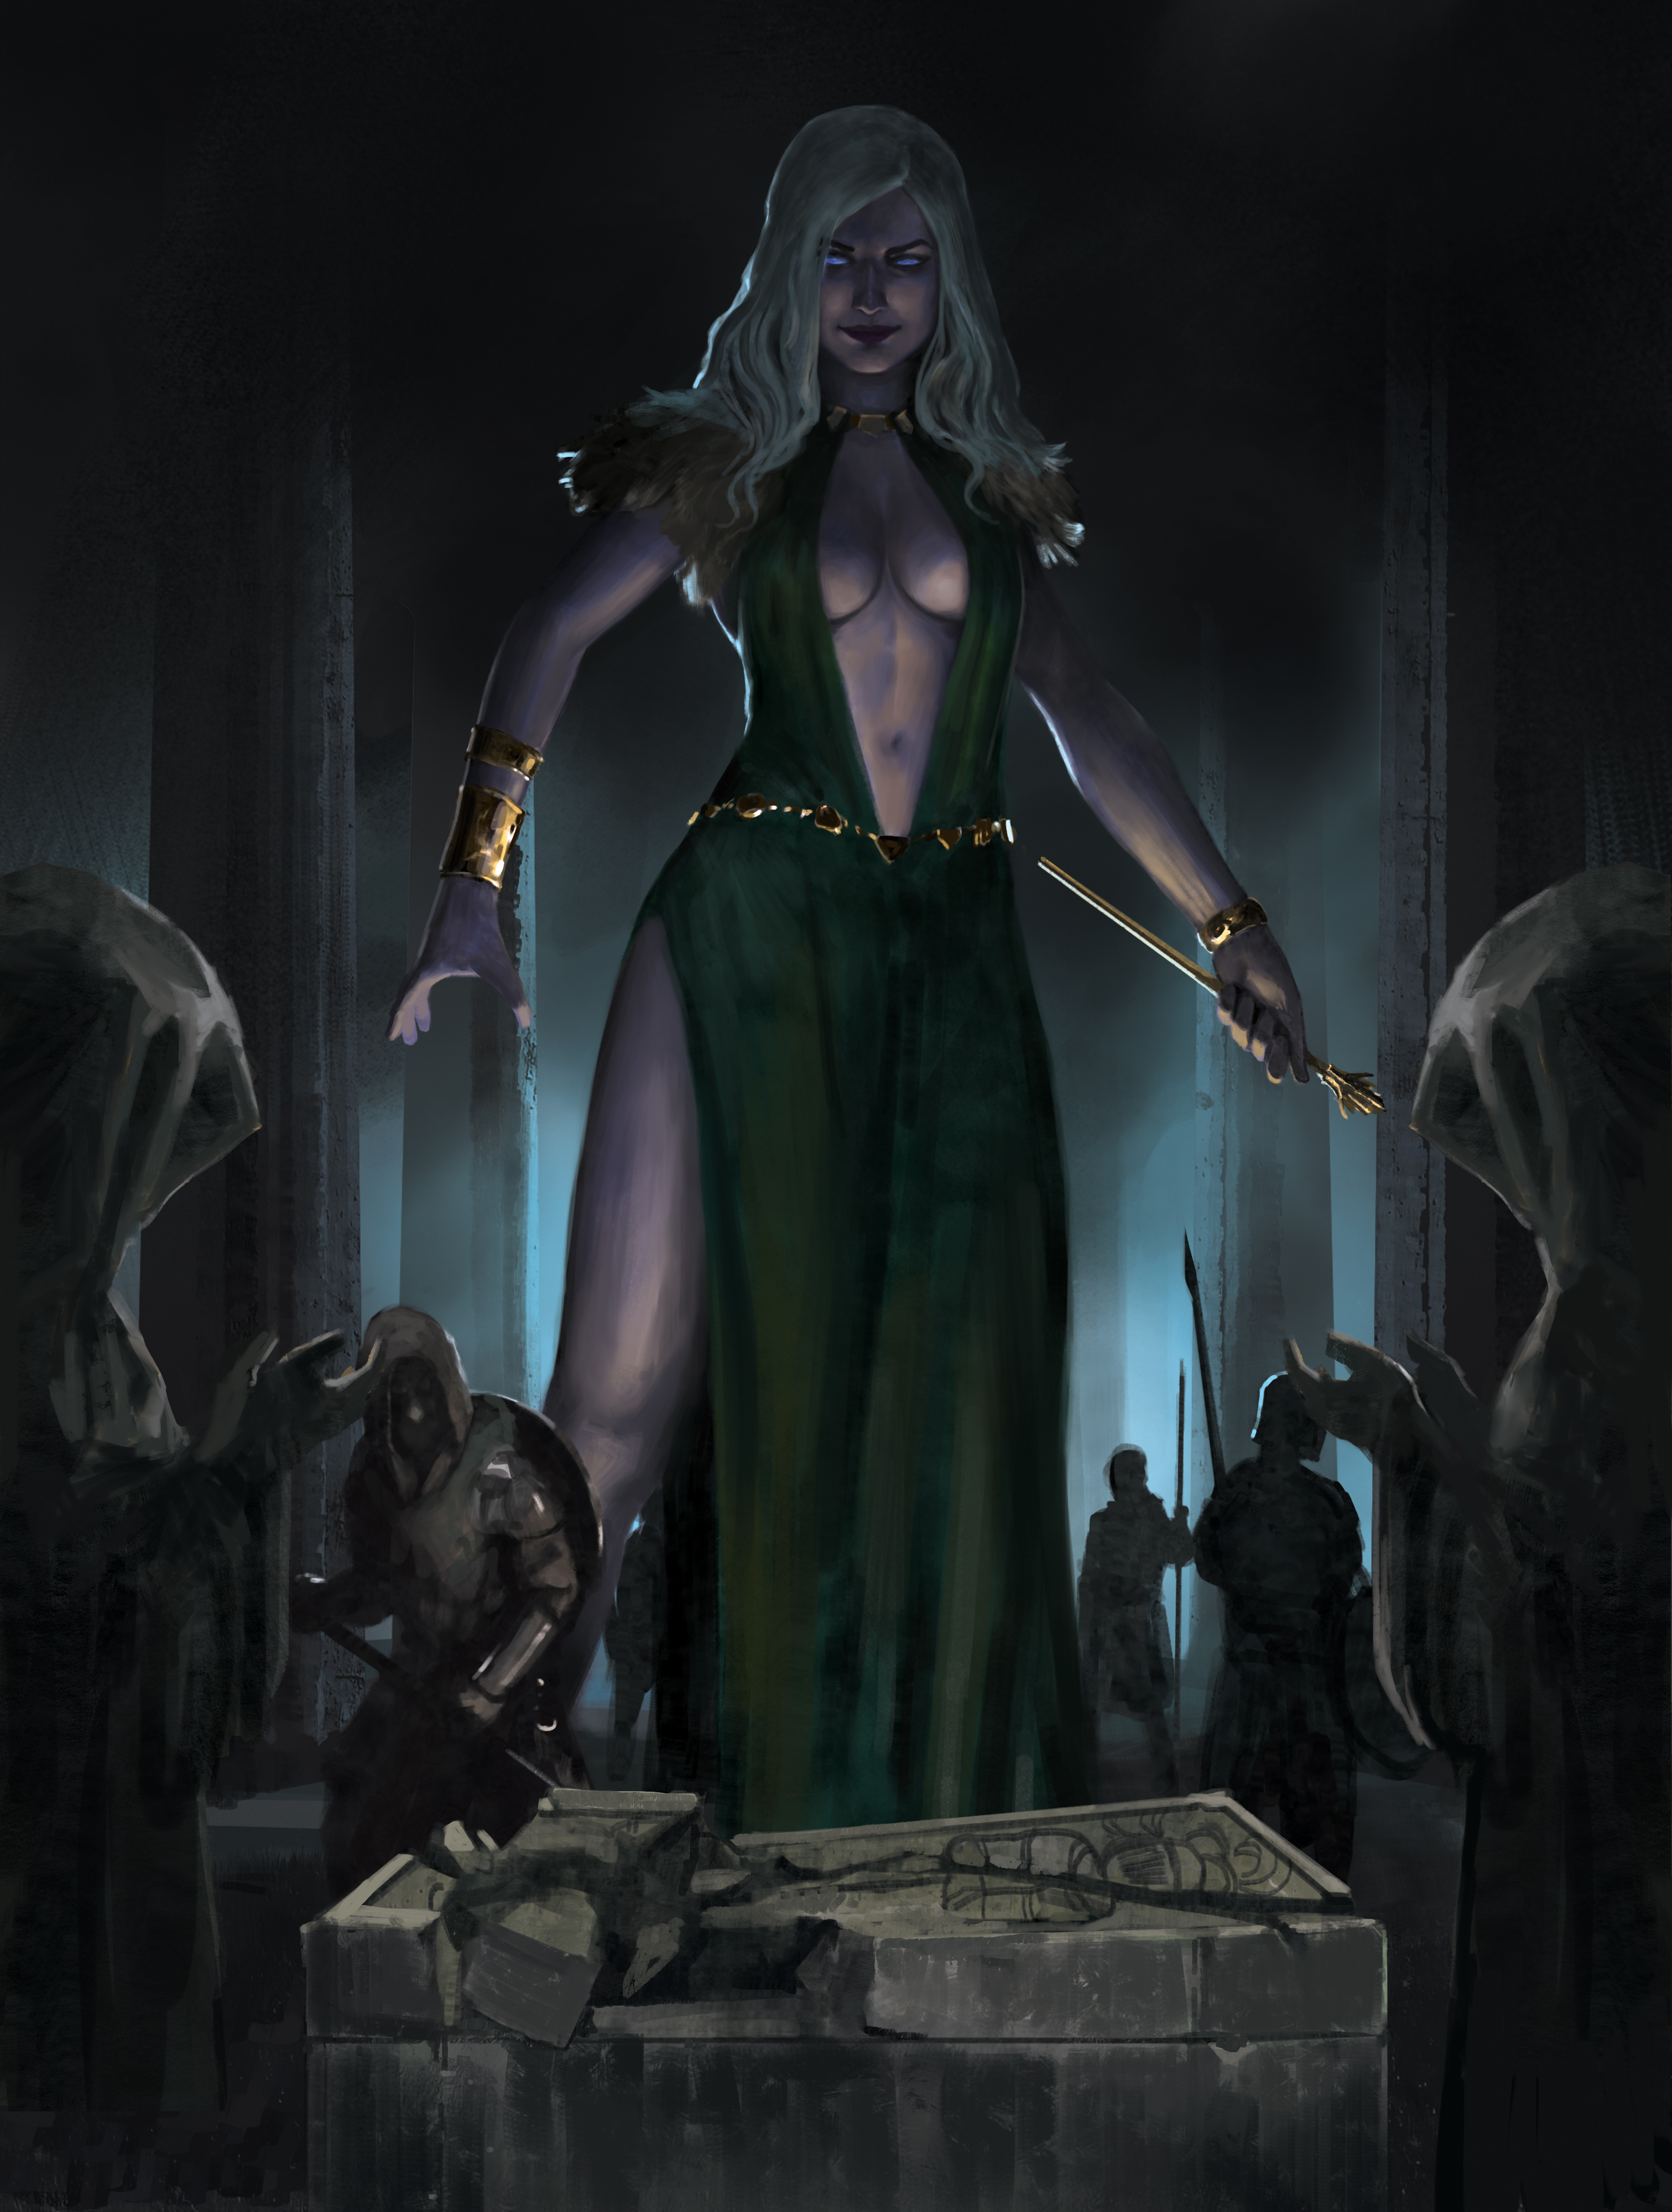
This module tells the story of the giant Seagriva Ghelf and her relentless quest to reclaim her family's missing home, Castle Wintermoore, and unleash the weapons within its vaults upon the region. She dreams of rebuilding her family's lost glory and dominion over the meek races that now populate the Ghelf's former empire. However, that dream will never come to fruition with out the secret scroll containing the formula to unlock the warding around the castle, and the compass that leads to its unknown whereabouts.
Both the scroll and compass have been lost to history for centuries now leaving the bitter giantess to sow petty cruelties upon the region instead. With the help of her zealous cult they've only managed to spread fear and make enemies. All of that changed when the scroll suddenly reappeared again, disguised as a simple painting in the collection of a recently deceased explorer. Those inheriting his estate are getting far more than they bargained for as not only Seagrievia searches for Castle Wintermoore but many other dangerous parties as well.
Will the inheritors manage to keep Castle Wintermoore and its vault out of the hands of mercenaries, madmen and a scorned giantess or will the region see the dark secrets with brought to light once more?
Basic Outline
Stage One- The InheritancePlayers are called home to receive an inheritance from the will of a recently deceased ally/relative. Among their collection is a tapestry that holds a valuable secret behind its aesthetic beauty, one that many are willing to kill for.
Stage Two- Secrets Better Left Buried
Fresh from the attack on their home the players are determined to learn more about what secrets the painting holds and who wants it so badly that they're willing to kill for it. The answers they seek will take them from the safety of their new home and into the open wilderness beyond.
Stage Three- Wake the Dead
After having spoken with Sols the heroes must now gain access to the ancient Balmoran tomb before others beat them to it. Inside the tomb is the stone compass that will lead to Castle Wintermoore's final resting place. They'll have to evade traps, defeat agents of Lady Wintermoore and possibly confront the giant herself
Stage Four- The Compass Stone
This adventure concludes this adventure module with the heroes desperately trying to get the compass stone and escape the crypt before Seagravia Ghelf and her agents can catch up to them. This adventure is about an escape, not a pitched and desperate battle. The heroes will have to navigate past their enemies, through long abandoned tunnels and avoid the vengeful dead that this battle has disturbed.
Detailed Flow of Each Stage
Stage One- The Inheritance
Characters are called home for the reading of a recently deceased relative/ally's will and to receive their inheritance. The deceased relative/ally was a scholar, art collector and sage in his later years but his career was built on a foundation of exploration and cartography in his earlier years. Characters will receive a few minor items of importance as well as ownership of the deceased's modest tudor-style home in a local moderately sized city.
Players will be given a tour of the house and art collection by the relative/ally's friend and caretaker of the will. His collection will include all manner of fantastic pieces of art from all across the world. The caretaker will highlight one particular piece as the deceased's favorite. It's a painting that depicts a castle falling out of the sky and hurtling toward a lush, forested region, somewhere. The piece is called The Shattered Sky and is by an unknown artist. There is also a small jewel built into the frame of the portrait that seems to flicker weakly with a shimmering blue light. (those with the means or knowledge will know it is a magical enchantment, a nondetection spell who's duration was extented on a daily basis over and over. The stone powered the recasting of the spell and stone seems to need some kind of maintenance that it hasn't received in a while and now the recasting no longer functions or functions sporadically.
The death of this relative/ally is big news as the character was a minor celebrity in the region. Many wellwishers and mourners will be stopping by to pay condolence but also to try and get a look at his mysterious collection of art.
That evening the house will be broken into while the characters are resting and sorting out the affairs left behind. The burglars are four mercenary/thieves and one sagely figure of considerable age. The players will awake or spot them as they sneak into the art hall and begin trying to steal the painting. The older figure seems to be in charge and is the one directing the thieves on which painting to steal and to be careful with it. If spotted the old man will order his thieves to kill the players. He plans on having them killed tonight anyway since he doesn't want word to get out of what he was doing in the house and what went missing. If players do not remove the stone from the painting frame this man will also pry it out with a dagger and dissolve it in a vial of acid.
This old man is a low-level sorcerer with the Storm Sorcery bloodline. His name is Aryasul Jedlan and he is a servant of Oulurie Ercyne, the newest leader of Seagrievia's cult.
During the fight Aryasul will try to escape with the painting if possible; if not he will fight zealously and to the death to retrieve it. He has three more minions that are outside acting as lookouts that can be called in if needed or used to trip up Players that give chase. He will be headed in the direction of the small city's dockside harbor where he hopes to escape by boat downriver. His boat has four more minions onboard with crossbows all ready to cover his escape.
Aryasul will die before telling them anything though he does have the brand of House Ghelf on his neck. This is an obscure symbol that only those with knowledge of giants would recognize. Also has a note on him that reads: Brother Aryasul, the Rubric is revealed to us. Her majesty has seen the veils of obscura part and she knows where it is now. You are closest to its location but others are already on their way. Search the home of (Deceaded Ally/relative), find the rubric and kill anyone who may interfere. Be subtle, be quiet but above all else be loyal in your pledge. Succeed or take your oaths to your grave. Either way, there will be a place for you in her eternal kingdom. Till Wintermoore Rises!
The painting should take some kind of minor damage during the fight revealing that it is painted on top of a set of old writings. The writings detail the day the castle fell from the sky and that a compass was built using stone from the falling castle that would be able to lead back to the crash site. The compass was given to the Balmoran knights many many centuries ago. This writing details the destructive magical devices locked inside the castle's vaults including something called the Blizzard Bringer Staff which the old masters of the castle used to lock their enemies in permanent winter. There's also something else mentioned. Something innocently named, the Sun Chime. There is also a magical formula written here that will undo the wardings on the castle and allow the speaker to enter. They seem to require a Warlock, Wizard or Sorcerer to cast. This page was written in giantish by the original leader of the Ghelf's human servants and imbued with a potent permanency so that these instructions would never be lost or destroyed. The Balmorans put the nondetection charm on because they couldn't find a way to destroy it. And the player's deceased ally/relative came into possession of it now. He knew the magic was failing on the stone but did everything he could to protect it. In fact, he is the one that painted over the page to make it look like something else though no matter what he painted the image would always warp and twist to become that of the falling castle.
The page will also describe the wealth stored within the vault as well providing a hook for more monetarily motivated players as well.
Stage Two- Secrets Better Left Buried
After spending a day or so patching up their home and searching every resource in the small town for information on Aryasul's symbol or the castle in the painting they've yet to turn up anything concrete. Only a lead given to them by town's record keeper will be of use. Session begins with players at the record keeper's office. (Record Keeper is a female halfling named Dennla Whistle.) The Record Keeper is willing to be helpful but admits that the records here do not go back very far and are not exceptionally detailed. The previous record keepers were largely only concerned with the town itself, not external lore. She suggests they speak with a man named Wennick Sols, a hermit that happens into town for supplies every month or so. She doesn't know where he lives but recalls he came through about a week ago.
Players will note that the record keeper is somewhat busy as well setting mouse traps around her office. She says that at night rats are coming in and stealing some of her food and her supplies. In truth it's not rats stealing her food but a small Fae Pixie named Olive The record keeper does ask them if they're willing to help clear out her office of rats for pay. She's willing to give 15 gold.
Outside they'll hear a subtle voice from around the corner of the office call them to the dark alley. In the alley, hiding safely in a hole in the wall is Olive. She's invisible and speaks to them saying she overhead the conversation. She says she'll offer to help the players find Sols if they promise not to set the traps and instead help her get access to what she's been after. The Record Keeper's chocolate's which are locked away in a box on the bookshelf. Players can agree to help or just offer to buy her chocolates from the market (8 gold pieces for equally fine chocolates). If they help she'll take them to where Sols' hidden cabin is located. Alternatively, if players don't take this hook they can ask around the market where Sols visits and one of the merchants there will tell them he went to Sols' cabin once. Sols has power, power to speak with the dead, to see the future and that if the price is right he'll use those powers. He needed those services to speak with his son who had drown in the river. He wanted to make sure his son was safe and happy in the afterlife and Sols was able to speak with the man's dead boy. says it was worth the 30 gold he charged
The path to Sols cottage will take them about 3 days to make by foot. It goes through a nearby forest and into the swampy wetlands near the coast of Lake Bask. The first day of travel is uneventful as the travel along the main road that brings them nearest to the forest (GM is free to use a random encounter if they like.) On day two they reach the edge of the forest and must begin navigating through dense terrain. Having Olive with will provide advantage on survival checks to get through the area. Constitution check needs to be successful otherwise they will suffer one level of exhaustion prior to the survival check. Successful survival check will allow them to avoid danger or get the jump on it if they choose. (random encounter roll D6: 1-2[ 6 bandits who are well armed fresh from a recent roadside robbery.] 3-4 [ 1 manticore stalking a wounded owlbear cub that it's trying to eat] 5-6 [ 1 wounded owlbear mother with a few manticore barbs in her. She is frenzied and looking for her missing cub. Nearby is her second cub. Wounded and hiding as well). GM is welcome to use one of these encounters as well during the first night's watch.
Day three has them crossing into the murky area around lake bask. This day begins with a thunderstorm and heavy rain rolling in. This will have an impact on combat, visibility and potential spell/weapon use. They will need to start this day off with a Survival check as well though the rain makes the DC slightly harder. If they fail they will be at one level of exhaustion again. This is followed by another survival check. The survival check dictates how they come upon the following scene: A small shanty type shack that has long been abandoned by its owners. However, it has currently drawn the attention of a trio of goblins and their Otyugh baggage handler/mount that they ride upon. If they succeeded the survival check they will come upon the group unaware and can choose how to act. If they fail they will be ambushed by the goblins and their creature. The goblins are more interested in their valuables than killing them. They are also interested in hauling up a heavy wooden chest from a deep hole inside the shack. Players may be able to negotiate their way out of it if caught by the ambush. The goblins are petty scouts that work for the Gatecrashers and they too are looking for Sols. They thought this was his home.
The goblins' names are Tiek, Krenish and Obulat. If questioned by force they will reveal that their boss is looking for Sols and trying to find a compass that leads to vault that fell from the sky.
They will eventually come upon Sols' true home. It's a little cottage in the middle of the swamp up on stilts out of the water. Players may notice alligators lurking in the muck. There is a very small stone pathway that leads to a ladder for the house. Players may need an animal handling check to distract the gators from the stone path. Once up on the house they'll find the doors locked and windows shuttered with some light coming from inside.
Wennick Sols is an older half-elf who's lived in the area for many decades. He has a small cache of manacite that he uses for rituals and is himself a powerful Warlock in service to a demon named Balam . Sols will be happy enough to answer their questions but he wants something in return. (He'll want a holy symbol if there's a cleric. And he'll want a gift of blood from one of them. That gift comes in the form of 2 permanent HP lost when Sols uses a special dagger to cut their hand and bleed them into a cauldron.) In exchange he'll reveal what he knows by casting a spell to contact a demon.
The demon speaks through Sols, their two voices overlapping as one. It says: Down fell wintermoore. Down fell the lords and ladies of that ancient line. Yet, one seed lingers to replant their roots. To make whole what was shattered. To reforge the old chains. She is not alone though. Others are now aware and seeking her inheritance as well. The old lions hid the compass. Follow its arrow to the doorstep of wintermoore and speak the words to enter. What you find is your gift and your burden With that Sols will quickly and fiercely stab his finger into a blank sheet of parchment on the table, blood trickling from his digit and forming into a map of the region with deep gory x' over the abandoned monastery fortress of Luminvale, an old Balmoral holy site famous for being a burial ground of heroes.
Sols seems exhausted but free now of the other presence. He says that's where you'll find the compass. The Old Lions of Balmoral brought it there after the fall of their kingdom. He says others are looking too. They've found means of their own to track down the compass and they're on its trail. They'll need to hurry. He also says that they're the only ones he wants to find it though. He gives them two potions of greater healing and says he hopes that's enough to give them an edge. He says that if anyone else finds Wintermoore castle it could be the final disaster that pushes Tairos over the edge.
Stage Three- Wake the Dead
The players will encounter a traveler on the road passing them. He's a dwarf warrior and grave robber who frequents these old roads pillaging anything he can find and hunting magic users. His name is Ghalrum Grannis and the players may be able to interact with him, buy and sell items with him and learn about the area. If they flaunt magic or spell casting abilities Ghalrum will react to them with great verbal hostility and distrust. He will not initiate combat though because of how stacked the odds are against him.
Things Ghalrum Knows
- The open plains are filled with hungry Axe Beak packs that hunts prey
- He's seen other travelers coming down these roads in the last few days. A knight the New Grand Order of the Lions and a wild woman riding a thunderous beast.
- The atrocities committed by the Fae during the Queen's War still echo in the region. Old souls linger, hungry for the life that was so cruelly cut short. He warns them to be careful to avoid shadows, specters and ghosts.
Up to the GM's discretion but Ghalrum is largely carrying old bits of antiques, scrap and metal. He may have a few functional weapons, one or two sets of usable armor, some basic equipment and maybe a very low level magic item or two. If spell casters are in the party the GM might consider having a few low level magic scrolls in his inventory. These are scrolls he was either going to destroy himself or sell to the mage hunters in Lockland.
If the players are able to have a successful conversation and offer compensation/make a good impression Ghalrum may also give them a few tips for avoiding the areas where the Axe Beaks hunt. If this happens players can make their survival check with advantage. Crossing the grasslands requires a survival check to avoid the Axe Beaks and once crossed the players will be passing through one of the old shanty towns. If they fail they will be attacked by D6+2 Axe Beaks. They will be sneaking in will try and strike from hiding against the players passive perception. Striking at the rear most player first.
Little is left of the shanty town they'll be passing through. It was a grain farm with a smithery, tavern and cobbler.It was ravaged during the war with the fae several centuries prior. Few survived and those that did either soon left or died out with their little town. There's no sign of what it was once named or who lived there. The game master will want to have them do a Constitution check to avoid fatigue from traveling all day. If they do decide to rest there are options for exploring the town.
There may be some minor equipment and possibly a few coins or jewelry left behind in places at the GM's discretion. At the cobbler there is a minor magic item in one of the cabinets. The effects are the same as Boots of Elvenkind. There is also the remains of an old wagon that has long eroded away. However, buried in its debris is a large heavy locked chest. If players manage to open the lock, which may take time, or find a way to smash it, inside is a suit of chainmail, a shield, a mace, a small pouch of coins (15 gold, 22 silver and 30 copper) and a minor healing potion. It all looks to have belonged to a balmoran soldier who didn't make it out of town
Lingering in the town too long or rummaging for valuables will alert the last citizens of the nameless town to their presence. Shadows and specters will slowly creep in on them, attacking lone party members first or those resting. (the town has 6 Shadows and 3 specters in total)
They'll arrive at the outskirts of Fort Luminvale after the sun has gone down. The first thing they'll see are torch lights in the distance, a crowd of white robbed figures just like the one that tried to steal the painting from them days ago. They have some tents set up as well as one large and very tall pavilion style tent that has some low flames burning inside. It's too dark to see much else inside. The fortress itself is long abandoned but still a stalwart redoubt that hasn't yielded to them. It also makes a loud mechanical ticking noise. (If players search for the source they'll see things like bladed traps, arrow traps and such resetting themselves). Several of the robbed figures are ramming the door with an improvised battering ram. A booming, agitated woman's voice echoes from the pavilion "If this is how you fair against an abandoned castle then I'm certainly blessed that none of my enemies have a functional one."
This camp seems to have over forty robed figures in it but it's difficult to see more under the cover of night. As they get closer they'll see one of the battering ram operators stumble backward and bleed out after a sharp javelin is thrown from above and into his chest. The men in robes panic, dropping the ram and scrambling back while others at the main camp hastily fire their short bows and slings toward the rampart where the javelin came from but manage to strike nothing. The dead man's compatriots retrieve his body and drag it to a pile of at least half a dozen others with similar fatal wounds. A heavy sigh comes from the dark pavilion.
If players investigate they'll find that Seagriva Ghelf is here in person, sitting on her throne in the pavilion with several servants and guards. The guards and robed figures have been trying to get access for hours now but two enemies beat them here and locked down Fort Luminvale. They've seen a knight in the armor of the Grand Order of the Lion as well as a wild woman with savage fighting skills. She is waiting on the arrival of three mercenaries that she sent one of her messenger cranes to hours ago. The Gatecrashers. Until then she's trying to get access on her own so she doesn't have to pay their fees. She also doesn't want to get involved herself and risk injury or death trying to break down the old defenses. There are traps everywhere and the two inside seem very skilled.
Players will need to avoid bladed traps, arrow traps and reinforced portcullis dropping to trap them in between if they attempt a secret entry on their own. They may search around and find a trap area that's already triggered. Big blade trap that has sliced up several cultists. This may be the most obvious route to proceed.
Once inside players can try to make contact with the two defenders Ecras and Claudius Xavier Bastion . They're busy running about the walls firing arrows and dropping boiling pitch down below on the attackers. They're both pretty battered themselves from the deluge of arrows and slings they've been enduring for hours now. They are protecting the main courtyard where the controls for the fort's exterior traps are controlled. The castle traps are constantly, though slowly resetting based on the clockwork gear system built into the castle thanks to the Gnomes who helped build it. The cult outside is aware and wants to destroy that so Seagravia can safely enter on her own.
Ecras and Bastion will be very dubious of who they are and what they're here for. They will need to be convinced that the players are not going to make use of the items inside the skyvault. They are likely to attack them as well if they think they're servants of Seagravia or if they're going to use the items in the vault just as wickedly.They came here to find the compass stone which is in the burial crypt but before they could retrieve it from its resting place they found themselves under siege.
Fort Luminvale interior consists of many small buildings and graves everywhere for basic Balmoran soldiers. There are the castle controls in a small, covered stone building and small keep and then a larger stone building for that serves as the crypt for the old heroes.
While discussing things or possibly battling each other the main gate will be attacked by Seagravia's mercenaries who are now arriving. The Gatecrashers . The gates will be engulfed in flames and rocked by an explosion from the goblin's bag of tricks. Specifically an old dwarven blasting cap used for mining. With the gate heavily damaged Black Phillip will rush headlong into the gate battering through the wreckage followed by the orc member as well. Their primary goal is to reach the trap controls and destroy them. They'll be accompanied by half a dozen cultists to act as distractions.
Gatecrashers are very challenging opponents and are meant to be so. Players who refuse to budge and stand their ground may be killed. Bastion and Ecras will suggest to the players to get to the crypt, get the stone compass and leave with it. No matter what they do with it their hope is that it will be better than what Seagravia has in mind. They will try to hold back the Gatecrashers and incoming cultists. Gatecrashers will focus first on the castle controls. Once the controls are damaged the loud ticktock noise of the castle will suddenly go silent and what's left of the cultists will pour in followed by Seagravia herself.
This session should conclude with the heroes sealing the heavy doors to the crypt and spotting the stone in question locked into a socket in the far wall with the saga of the hero who retrieved it etched into the stone around it. Pounding on the wall from outside by Seagrvia and servants grows louder. and here, in the dark of the crypt, shadows stir and slow, shuffling noises each. A whisper pervades the air seething in the old Balmoran (common) tongue "Who dares dishonor this hallowed place! There is a price to be paid for waking the dead". End with them seeing skeleital remains in ancient balmoran armor stumbling into their lantern light and toward them.
Stage Four- The Compass Stone
This session begins right where the previous session ended. The pounding on the crypt doors grows louder and louder as a trio of skeletal warriors lumber forward and attack. (three Skeletons with AC increased to 17 and HP increased to 20. XP increased to 75 each) They can hear echoes and whispers from deeper into the crypt as well.
Searching the area will yield a few interesting things. The building is very sturdy and defensible but it will not hold indefinitely. The tombs do hold weapons and armor if they choose to pilfer them along with jewels and valuables but each time they do this D6+3 Skeletons with the same adjusted stats will emerge from crypts and shadows to attack. If they still have Olive with them she can poke around in small places and help with the search granting them advantage. They will also be able to discover some of the foundation tunnels used during the construction of the crypt via spying between stones (scouting between cracks with Olive) and reading some of the old inscriptions on the stone. These tunnels are large and wide to accommodate the frequent flooding that used to occur here. These are reachable by descending into the lower level of the crypt where bodies were prepared and stored.
Although tense with the pounding and the enemy at their heels the players may opt to rest here. They can manage one short rest before cracks begin to form in the crypt door and walls.
Players will need to navigate their way through the crypt and to the staircase that leads to the preparation chamber below. The group can attempt a religion check to try and recite prayers to the gods worshiped by the old balmorans and pacify the dead. They can also attempt much more difficult stealth checks as well to avoid disturbing anything. Failing will lead to D6+3 emerging skeletons with the same enhanced stats
The staircase leads down into a lightless chamber with tall ceilings and thick support columns. There are stone slabs everywhere where bodies were prepared. Many of them have old, withered bodies on them, battle brothers that could not be entombed in time before the fortress had to be abandoned. At the far end of the room is a stone archway with a path that slants downward to the foundation tunnels. This passage is wide, tall and well built to have accommodated incoming material and gnomish machinery. This chamber has many ancient oils, balms and elixirs used on the dead corpses. There are surgical implements here as well that were used to repair the fatal wounds that brought the dead here. There are lanterns on all the columns that can be used for light. Players may also find a large treasure chest that holds some of the vestments of the old priesthood, ancient holy books to the god Sandor 2 potions of heroism, 1 potion of greater healing, an amulet to the goddess Tatayne that functions as a periapt of wound closure and a ring of protection +1 with the lion symbol of old balmoral on it.
While making their way through here they will start to hear massive pounding on the floor above, debris and stone will begin to shower down as a huge hole is spreads across. Black Phillip will fall through slowly and gently (thanks to his feather fall charm) with his goblin and orc ally. Then, the floor shakes as another shape slips through the hole above and lands as gracefully as thing of its size can. Through the dust cloud emerges Seagravia Ghelf in all her glory, holding her gold sceptre and smiling wolfishly. Players have the opportunity to hide behind nearby stone slabs or in the shadows and behind columns.
Seagravia's silken voice will echo powerfully through the chamber.
I can smell you in here. You stink of fear and mortal filth. All I want is my home back, whether you live or die doesn't matter to me in the slightest. Give me the compass and you can live out your miserable little lives in peace. Though, I swear to you, if you make this any more difficult than it's already been I will find you and I will peel you apart one strip of skin at a time. You can't win, but you can decide whether you live or whether you suffer.
Seagriva will be getting closer and closer to them. Some of her remaining cultists will be filing in down the back stairs now as well. The Gatecrashers will be skulking about ready for combat and their mistress will be crushing stone slabs as she walks deeper into the room. Players are still roughly 75 feet from the archway to the foundation tunnels. Individual stealth rolls will be needed to creep through. They may opt for some kind of distraction as well.
At some point, if the gm chooses, me may allow for Ecras and Bastion to make a reappearance. With Ecras directing her rhino through the hole in the ceiling and crashing into Seagriva sending her sprawling but quickly to her feet. Bastion would beg them to flee into foundation tunnels with the compass stone. Otherwise, the GM can let them handle the situation on their own. Once they make it to the archway Seagrivia will send the Gatecrashers after them as the tunnel is still very tight for her though manageable. She will follow slowly but only after her minions have made it through to chase the heroes.
The Gatecrashers' taunts will echo down the corridor behind them as they're catching up. Players can hustle with dash actions and athletics checks. This passage lets out in a truly massive and wide chamber. They'll hear the sound of rushing water before they actually see it. The man-made channel that funnels flood water and underground water flows away from the foundation of Fort Luminvale. There are other tunnels to various different areas of the foundation but along the channel they'll be able to see a distant light, the exit. This area is filled with support columns and a large dam-like structure that diverts water from elsewhere into the channel and out. Without maintenance this area looks weathered, damaged and is filled with puddles and pools of stagnant water that have broken through cracks in the dam and erosion in the channel.
The Gatecrashers will soon be arriving along with four cultists. Seagrivia is forcing her way through the tunnels and her frustrated voice will be growing louder and louder. Players can opt to stand and fight. Seagrivia will arrive after the third round. They can flee along the channel edge. The channel is 600 feet long to its exit and their enemies may catch up. They can opt to jump in the flowing water and flee that way but will need strength/athletics checks to avoid injury and drowning. They can also try to damage the dam holding the full force of the water back which will quickly flood the chamber and prevent Seagriva and her followers from chasing, possibly killing them. It will also force them to take strength athletics checks to avoid a higher amount of injury and damage.
The channel/flood will let them out into a retention pond built when the fort was constructed. It's 600 feet south of the fort and surrounded by more of the tall grass common to the area. Players can quickly flee with the compass stone in hand. As soon as the compass stone is under sky it will activate, starting to pulse with pale white glowing lights and a symbol that points in the direction of Castle Wintermoore.
Themes
- Adventure
- Ancient History
- Danger

Comments